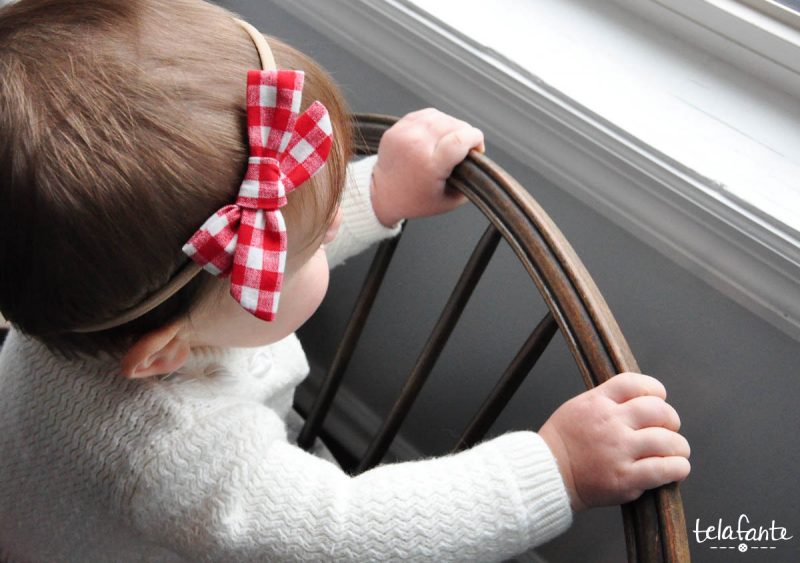
I never thought I’d be making hair bows, but somehow they’ve become one of my favorite sewing projects. Hair bows are so fun to sew because you don’t have to have a lot of fabric and they take less than 30 minutes from the time you start cutting out fabric to sticking the finished bow on that sweet babe’s head.
Quick! Go find some scraps of your favorite fabrics and follow along with this easy hair bow tutorial to make a few pretties!
Materials:
For a thinner bow (great for tiny babies): Cut strips of fabric that measure 1.5 inches wide by 11.5 inches long.
For a slightly thicker bow (a good size for babies and toddlers): Cut strips of fabric that measure 2 inches wide by 12 inches long.
Instructions:
Step 1: Fold your fabric in half lengthwise and press. At each short end, mark the curves for the ends of your bow.
Sew with a 1/4 inch seam allowance along your curve markings and continue with a straight line of stitching along the long edge of your fabric. Make sure to leave a one inch opening to turn the bow inside out. Note: You probably won’t need to mark your curves at the ends every time, but it makes it easier to know where to sew the first time. After that, you can eyeball it, if you wish.
Step 2: Clip the edges next to your curves to make the points at the curves look nicer. Turn your bow inside out, one side of the opening at a time, using a skinny stick like a short dowel, pencil or crochet hook. You’ll need a skinnier stick for the thinner bows.
Step 3: Press your fabric flat and sew the opening closed. You can do this two different ways: topstitch very close to the edge of the fabric with your sewing machine or sew it closed by hand.
Note: If you choose to topstitch your opening closed, you can make the bobbin side of your stitches look cleaner by winding your wheel and pulling up the bobbin thread before you place your fabric under your foot. This way, when you backstitch, you won’t have a mess of thread underneath. Awesome, right?
Step 4: Fold your bow around a headband. I love nylon headbands beacause they’re really soft, but I also really like using thin, delicate looking elastic lace. (You can find both on Amazon or in different shops on Etsy.) Here’s how you fold it:
Fold the ends of the bow towards the center.
If you’re putting the bow on a headband, flip the headband so the ends are facing down and hang your headband in the center of your bow.
Fold the bow in half with the headband hanging in the center.
Cross the left side over and place it on top of right side to form an “x.”
Tuck the folded edge of the left side under the right side and through to the other side.
Pull the folded edge all the way though while you let go of the curved “tail” that you’re holding down with your left thumb.
Pull both folded edges.
You might have to adjust how far the ends of your bow stick out to make each side even, so just pull the ends and the folded edges until it looks the way you want.
You can also attach a clip to the back of your bow, if you prefer. I like to change out between clip and headband, so I don’t sew my bow to the headband or glue it to the clip.
Now isn’t that just the cutest!
Try these other Telafante tutorials! For free patterns and more tutorials, join my mailing list here.


Great tutorial Lydia, love it!!!!