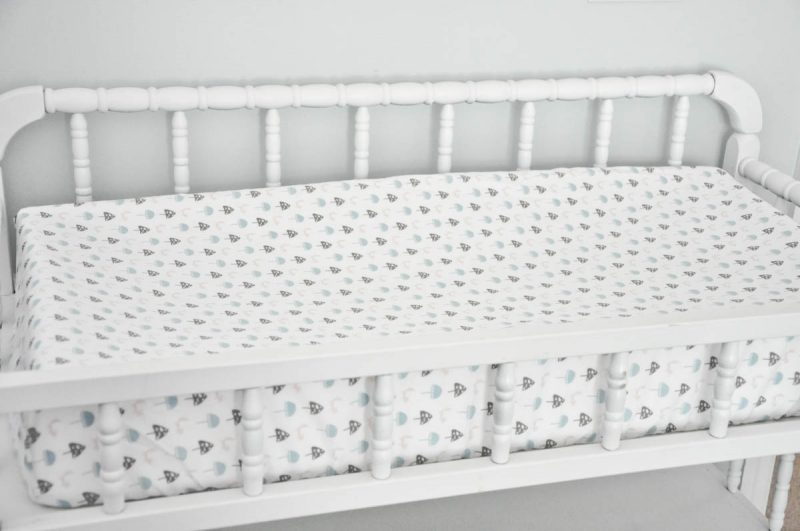
Who doesn’t love a cute nursery! Changing pads are one of those things that pretty much all mothers use, so if you don’t have babies yourself, you can make one for a pregnant friend. They’re such a great way to create options in a nursery. It was always so hard for me to decide on just one theme in my nurseries, so I would usually just pick a color scheme and go from there. With changing pad covers, you can make 2 or 3 out of different fabrics, which is great because you know they’re going to get dirty, and you’ll be glad to have a few extras.
 This changing pad tutorial will take less than two hours to make because we all know we don’t usually have much more than two hours to create anyways! Plus, if you’re even the slightest experienced at sewing, it might even take just an hour!

Find you some great fabrics and get started with the steps below! Knit fabrics and regular quilting weight cotton fabrics work the best. This tutorial is for a changing pad that measures 33 inches by 16.5 inches by 4.25 inches. If your changing pad is slightly (1/2 inch) larger or smaller, these directions will work all the same.
Materials:
- 1.5 yards of fabric
- 45 inches of 3/8 inch elastic
- coordinating thread
Instructions:
Step 1: Cut out your fabric: 44.75 inches by 28 inches (Make sure if you have a design on your fabric that needs to be going a specific direction that you think about that when you cut.)
Step 2: Fold your fabric in half lengthwise and then in half along the width, so your fabric is folded into one fourth its size.

Step 3: With your fabric still folded, cut a 5.5 inch square out of the corner with raw edges along both sides.

Step 4: Unfold your fabric. In the corners where you cut out the squares, bring the raw edges together, and sew with a 3/8 inch seam allowance. Serge the seam allowances to prevent them from raveling.

Step 5: Repeat with the other three cut out corners.
Step 6: After your four corners are sewn together, serge all the way around the raw edge of the cover. Make sure you fold over all four corner seam allowances the same direction when you serge to make it easier to thread your elastic through.

Step 7: To make your elastic casing, fold the entire edge of the cover under 5/8 inch. Sew around the edge with a 1/2 inch seam allowance. Make sure to leave a 2 inch opening to sew the ends of your elastic together.

Step 8: Thread your elastic through with a safety pin. After your elastic is threaded all the way through, overlap your elastic 1 inch and sew the ends together. Tuck your elastic in and sew the opening closed.


Now wasn’t that super easy! They’re so fun to make and so easy to customize! Once you make one, you’ll want to make a few more! There are so many fun fabrics out there!


Check out these other tutorials! There’s a few more baby friendly projects and some for a friend! Just click on the picture to follow the link.


