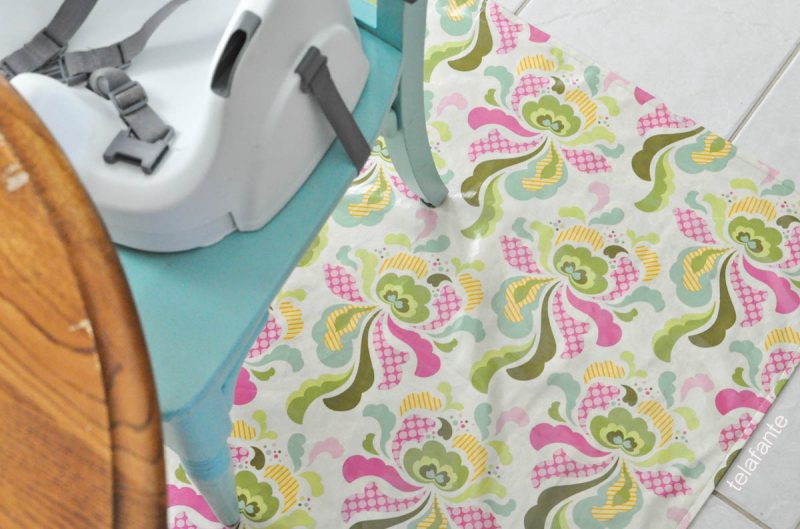
This is going to sound a little crazy, but want to know what I dreaded most about having kids? The food mess! I know, I know… Out of all the things to dread, that’s probably the silliest. But you moms out there know what it’s like, noodles and broccoli just smear everywhere when you try to wipe them up, and don’t even get me started on eggs… So, I decided to make the clean up process a little easier on myself! I created my own splat mat with some super cute laminated fabric I had in my fabric stash.

Laminated fabric is great for splat mats because it has a protective vinyl film over the top part of the fabric. It’s super easy to clean; just shake it off and wipe it down with a damp cloth. If you need to, you can just throw it in the wash and let it hang to dry.

So far I’m loving our new splat mat! We had spaghetti the other night, and instead of trying to pick up all those tiny angel hair noodles, we just took the mat outside and shook them off! Totally made the whole clean up afterwards seem less daunting.

Making the splat mat is super simple, and there are so many fun laminated fabrics out there! See end of post for suggested fabric store links.
Follow these super simple step by step instructions to make your own splat mat!
You will need:
- 1 yard of laminated fabric for the top of the splat mat
- 1 yard of laminated fabric for the bottom of the splat mat
(You might need more or less fabric depending on the size mat you need. My finished mat is 52 inches by 34 inches. Some laminated fabrics are 54 inches wide and others are only 44 inches, so make sure you take note when you are purchasing your fabric.)
- coordinating thread
- 1 yard of iron on tear away stabilizer (You can also buy it by the yard, and it’s cheaper that way. Just look for the section in your craft store that has bolts of stabilizers. Sulky Totally Stable is the brand I usually use.)
- a thin piece of fabric to use as a press cloth while ironing the edges of your laminated fabric
(Laminated fabrics will melt under the heat of your iron, so you will need to place a piece of thin fabric between your iron and fabric when you iron it. If you don’t, I promise, your fabric will melt to your iron and create a sticky mess. Ask me how I know…)
Splat Mat Sewing Instructions:
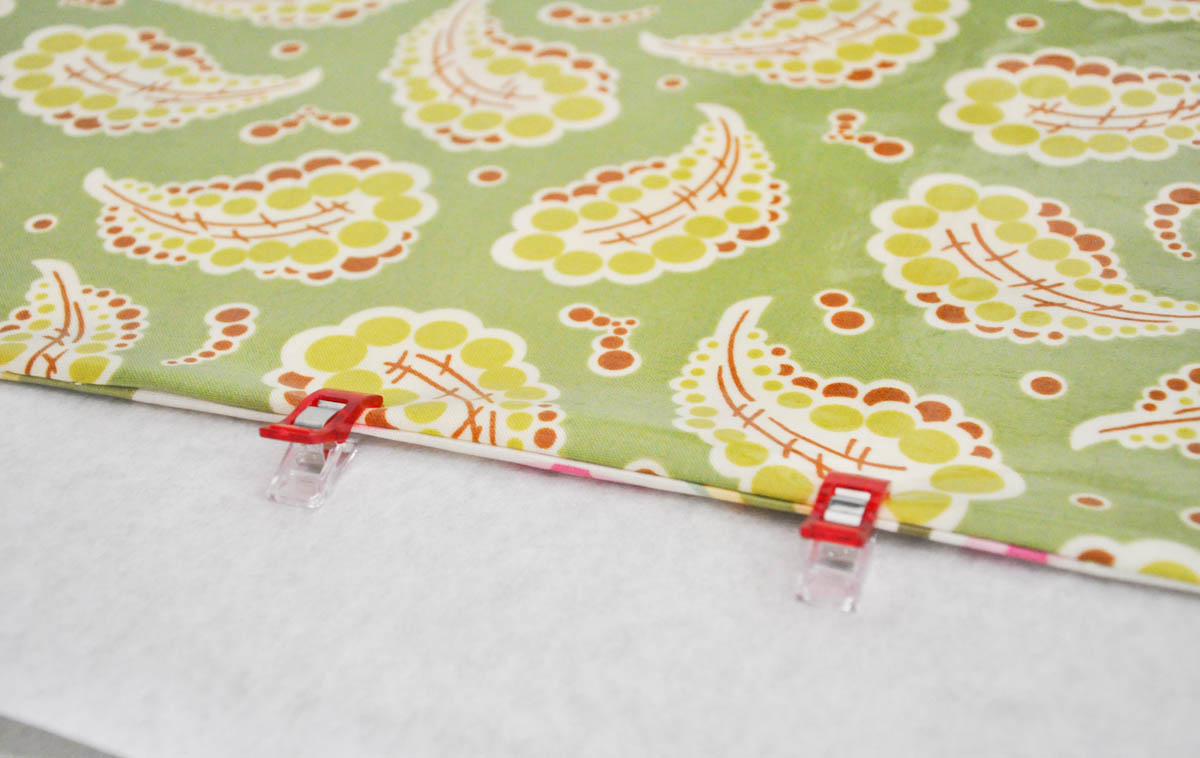
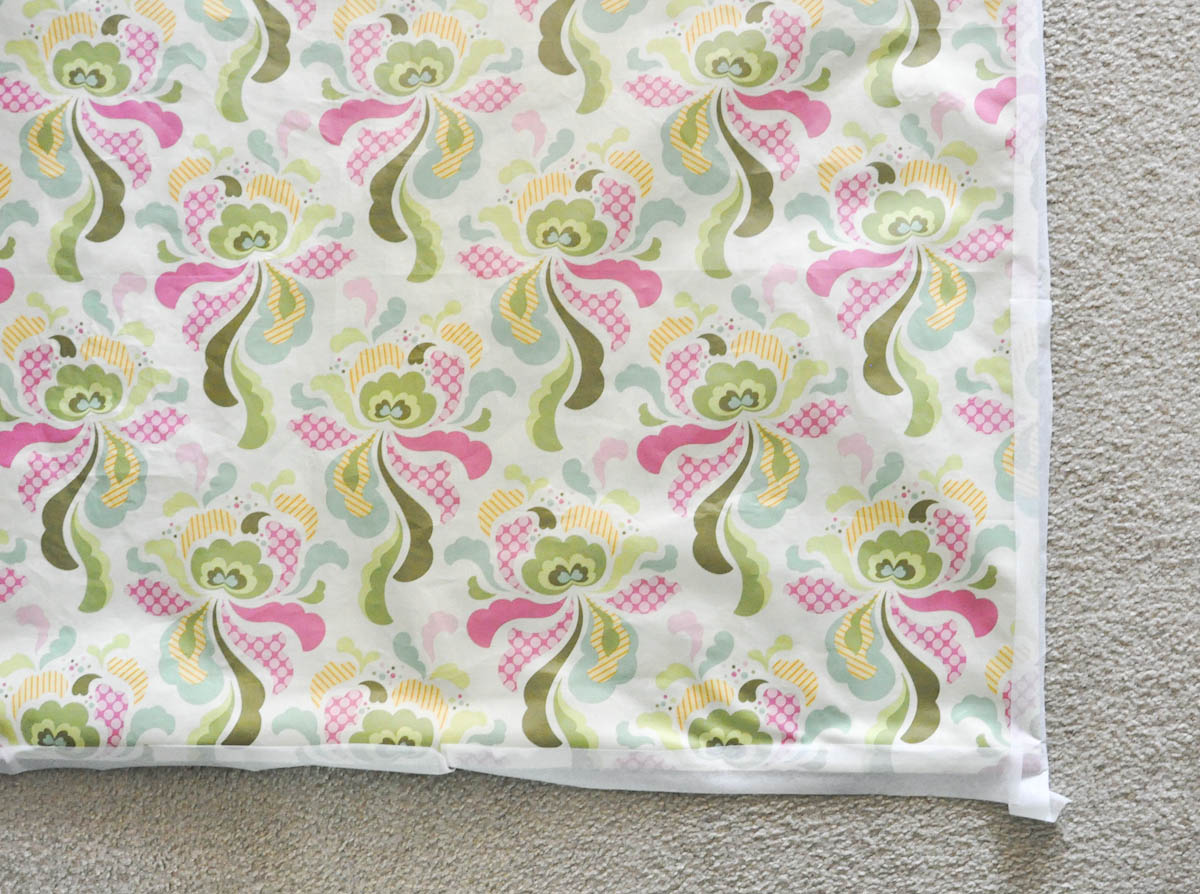
Step 1: Cut your main fabric and the back fabric to the size you want your mat to be. I folded mine to make it easier to fit on my cutting table and used these super cool Wonder Clover Clips to keep the fabric from shifting while I cut it. Pins don’t work well with laminated fabrics because they leave holes in the fabric and make the fabric bunch together under the pins.

Step 2: Place your fabrics right side together and clip them together along all four edges to keep your fabric from shifting while you sew.

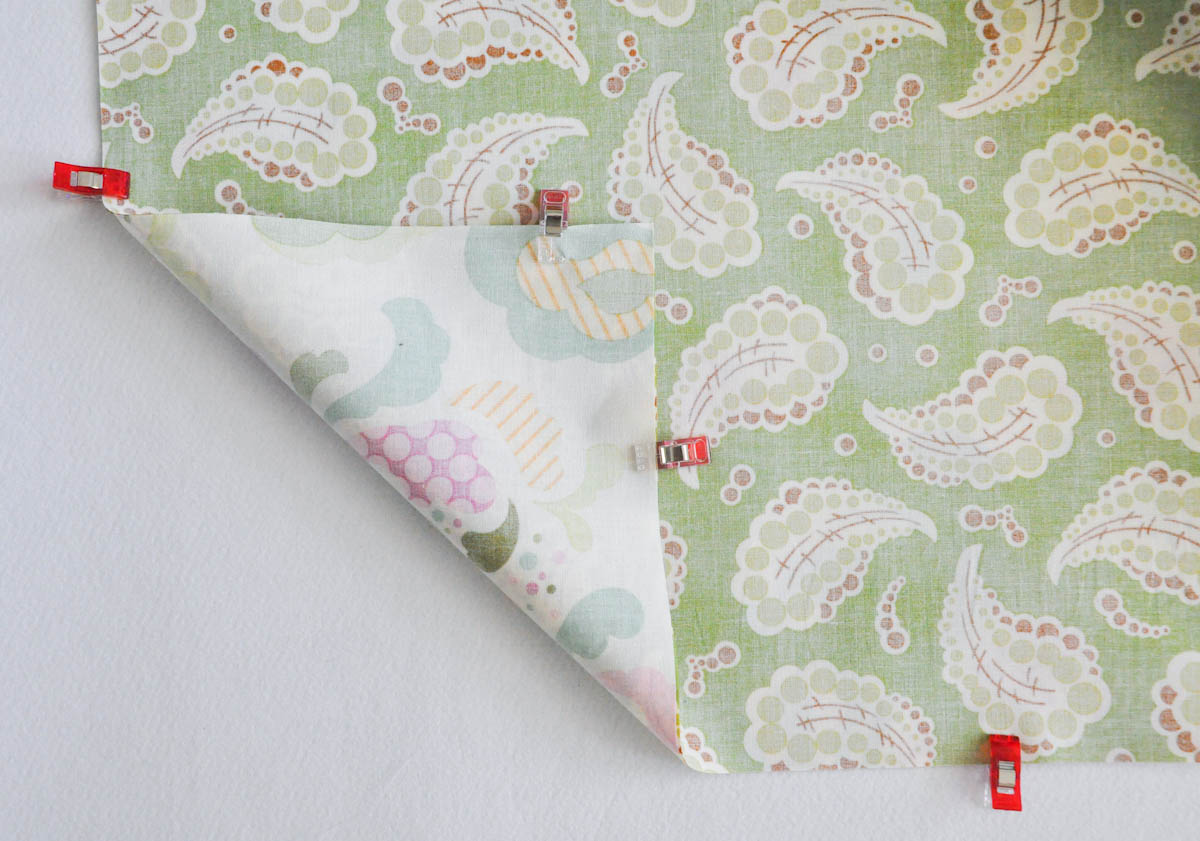
Step 3: Sew with a 3/8 inch seam allowance around all four edges of your fabric. Leave at least a 6 inch opening to turn your mat right side out. Clip your corners.
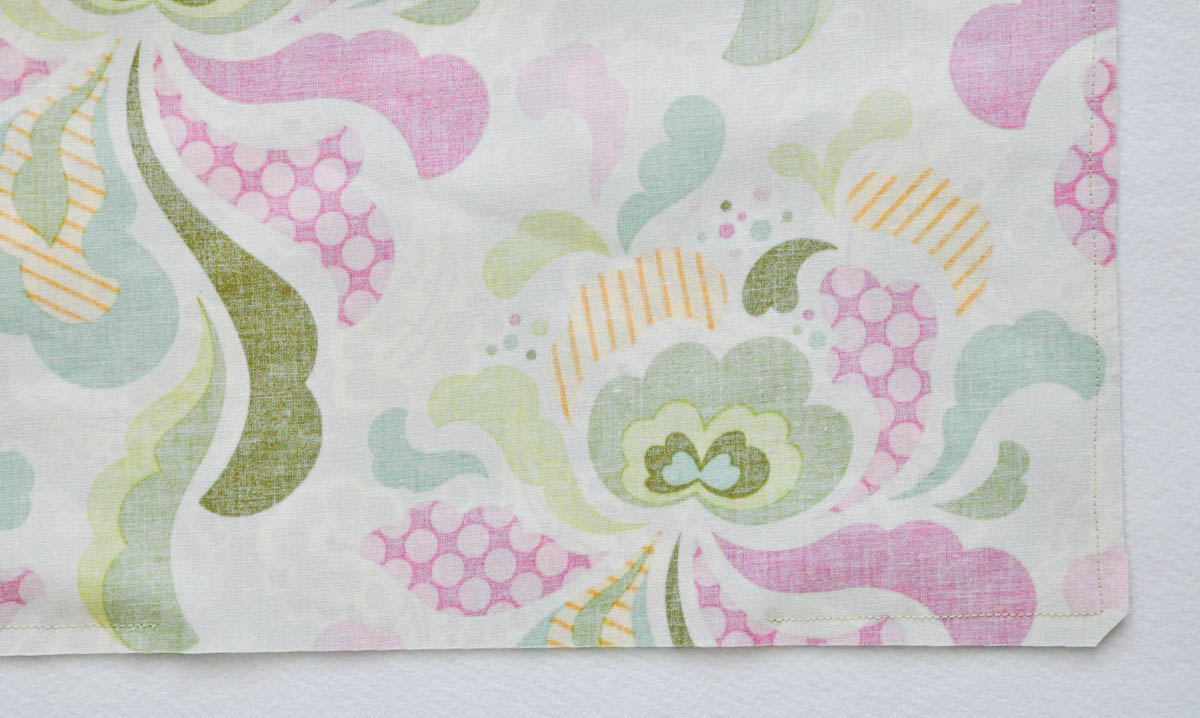

Step 4: Turn your mat right side out, and iron the four sides of your mat to prepare for topstitching. If you roll the edges of your mat between your fingers, it will help the edges of the mat lay flat enough for you to iron them. Remember to use your press cloth to iron the seams flat! Don’t melt your fabric!
Step 5: Make sure to iron the 6 inch opening closed as well. I clipped mine first and then ran the iron over it. (With my press cloth!) The opening will actually seal together because of the heat from the iron.
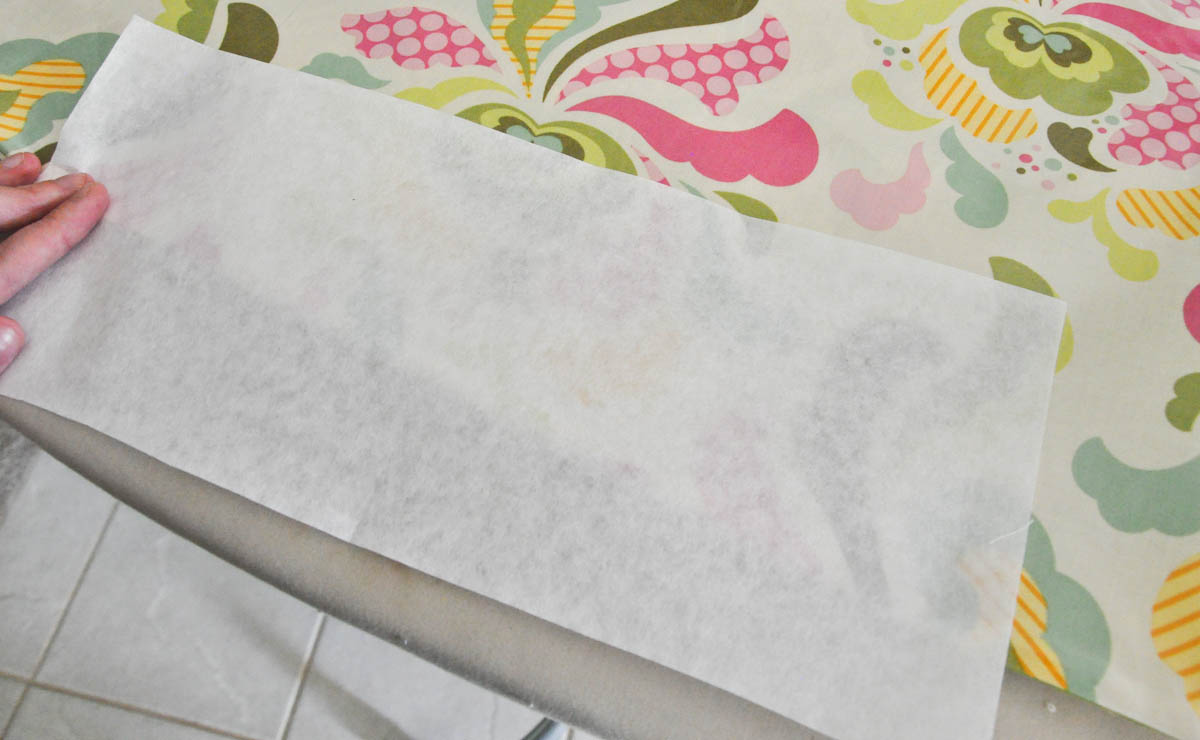
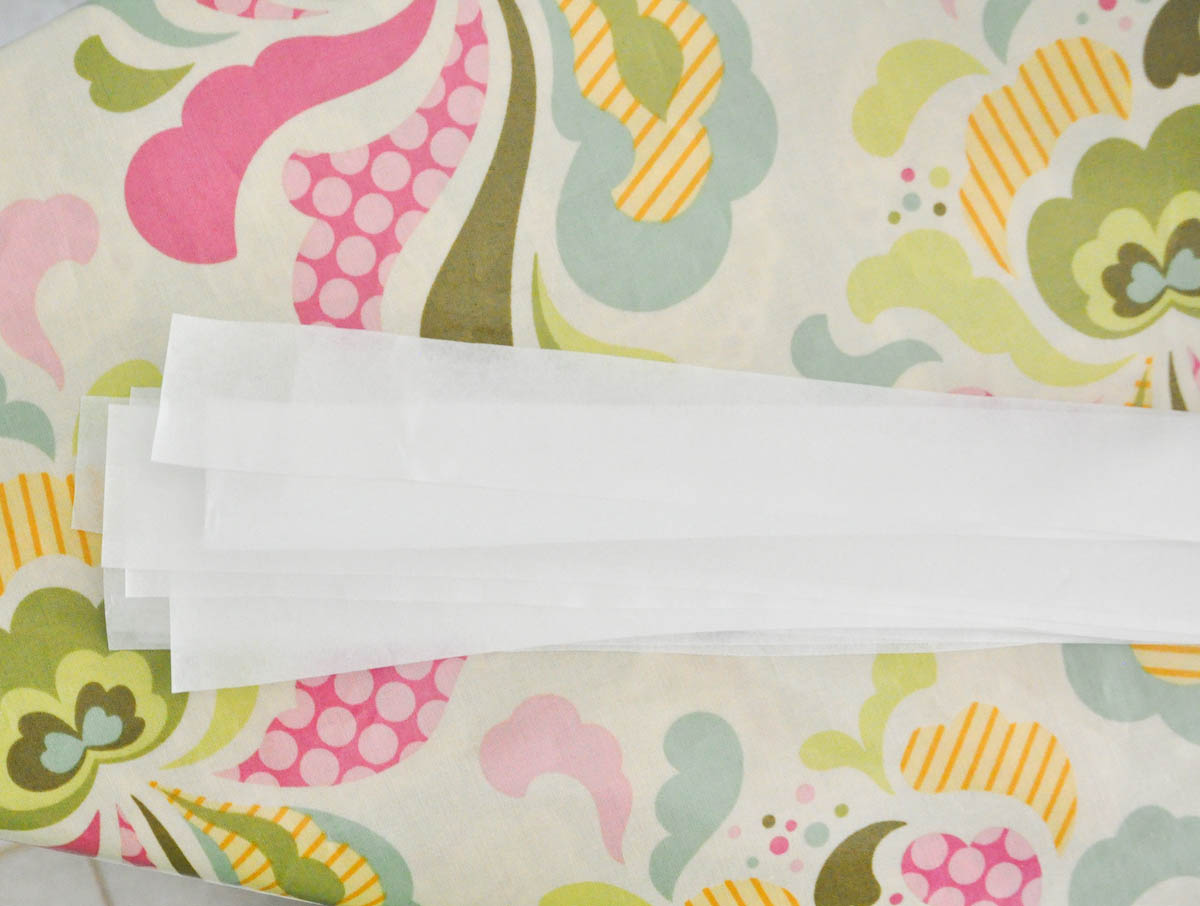
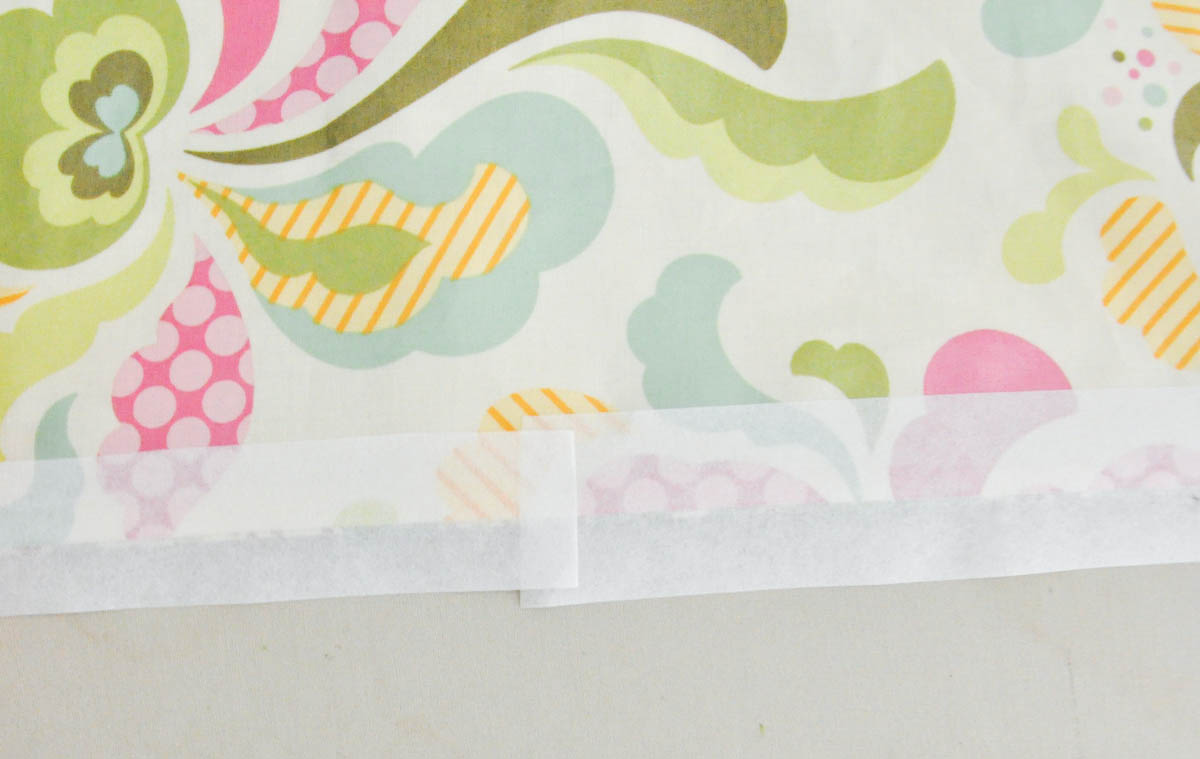
Step 6: Cut your iron on tear away stabilizer into 1.5 inch wide strips.
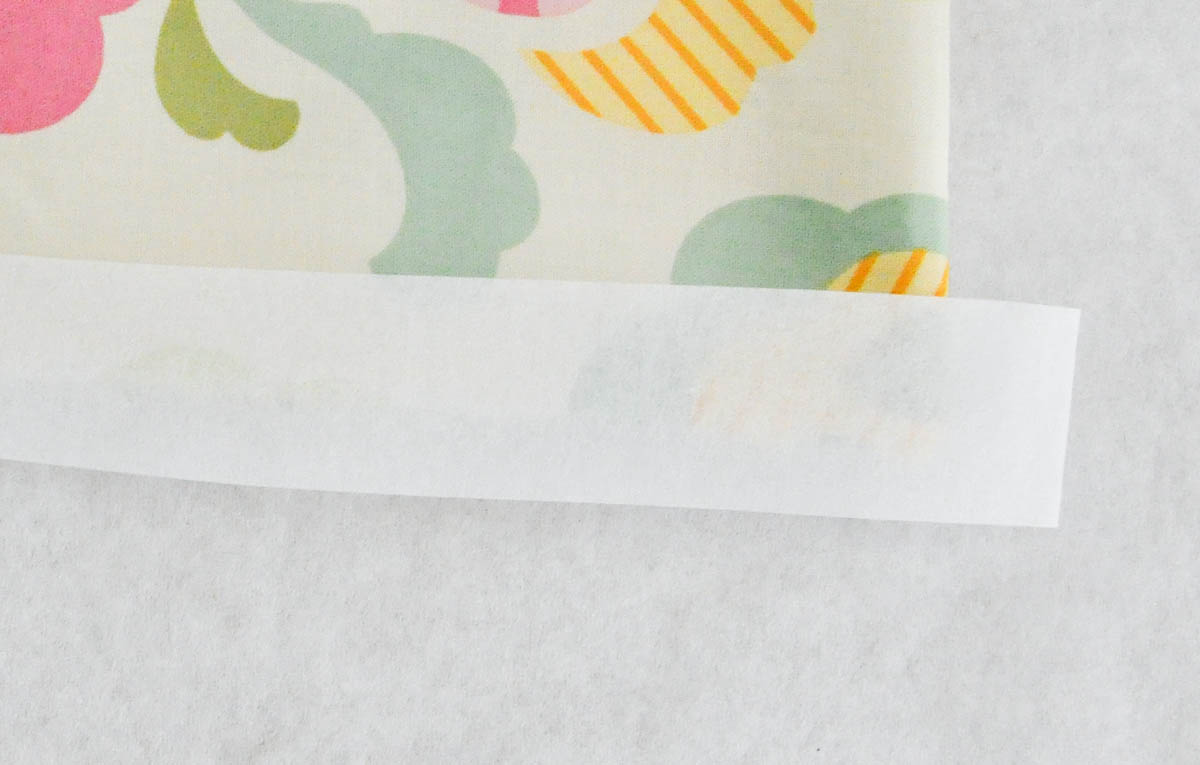
 Step 7: Iron your strips onto your fabric around the edges. It’s important to make sure you place the stabilizer with the shiny side against the fabric and the rough side facing up. The shiny side is the fusible side, so if you iron with that side up, it will stick to your iron.
Why do you need to use stabilizer at all, you ask? Since the fabric is laminated, it will not feed easily under your sewing machine foot. The tear away stabilizer will keep the fabric from sticking to the underside of your foot and allow it to slide easily through the machine. You will not need to use a press cloth for this step as long as you don’t let the iron directly touch your fabric, and you keep a strip of stabilizer in between the iron and your fabric.
Continue ironing strips of tear away stabilizer around the edges of your mat. You can allow the strips to overlap as much as you like.
Step 8: After all your edges have a strip of stabilizer attached, sew the two layers of fabric together with a 1/2 inch seam allowance. Sew around all four edges.
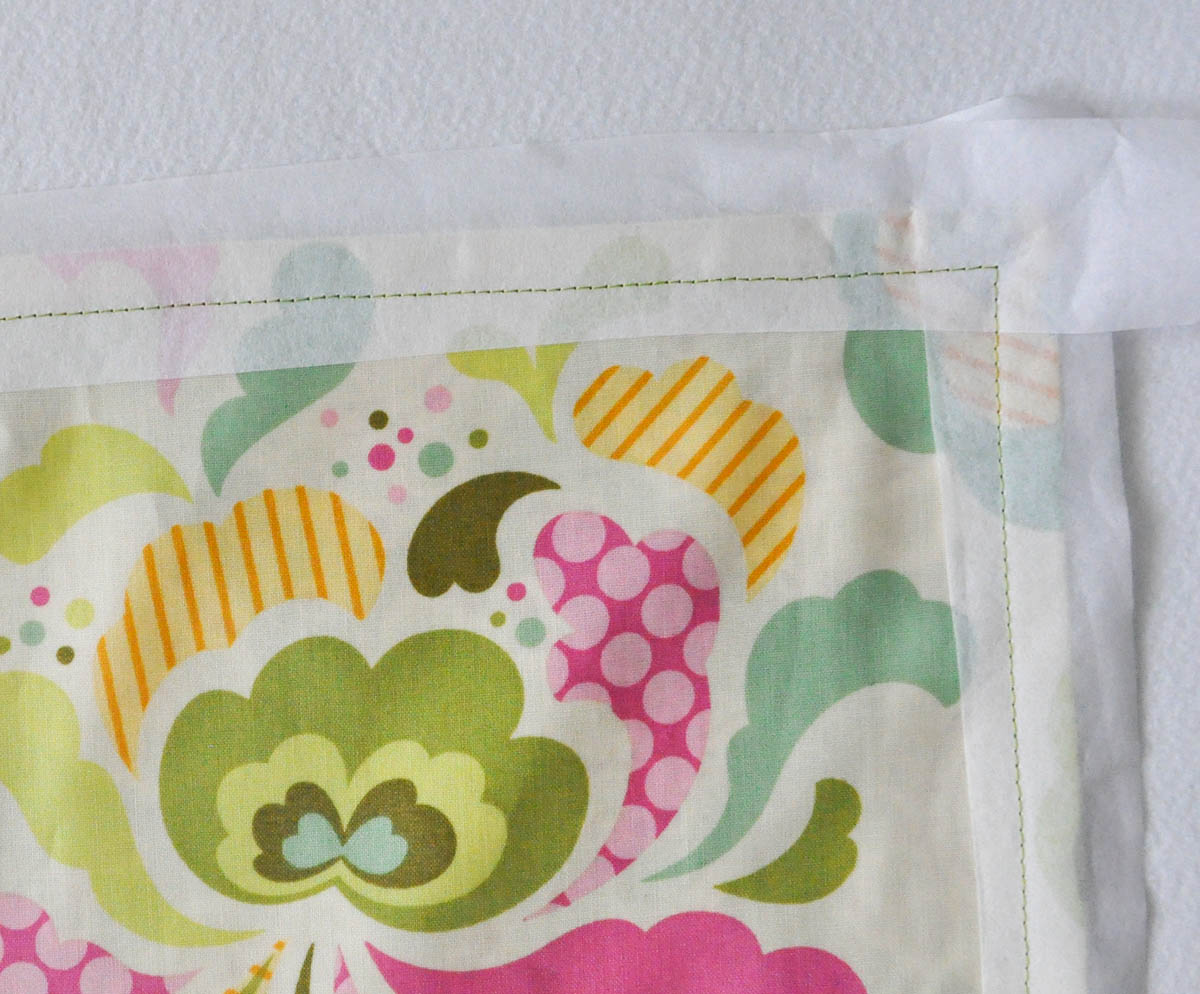
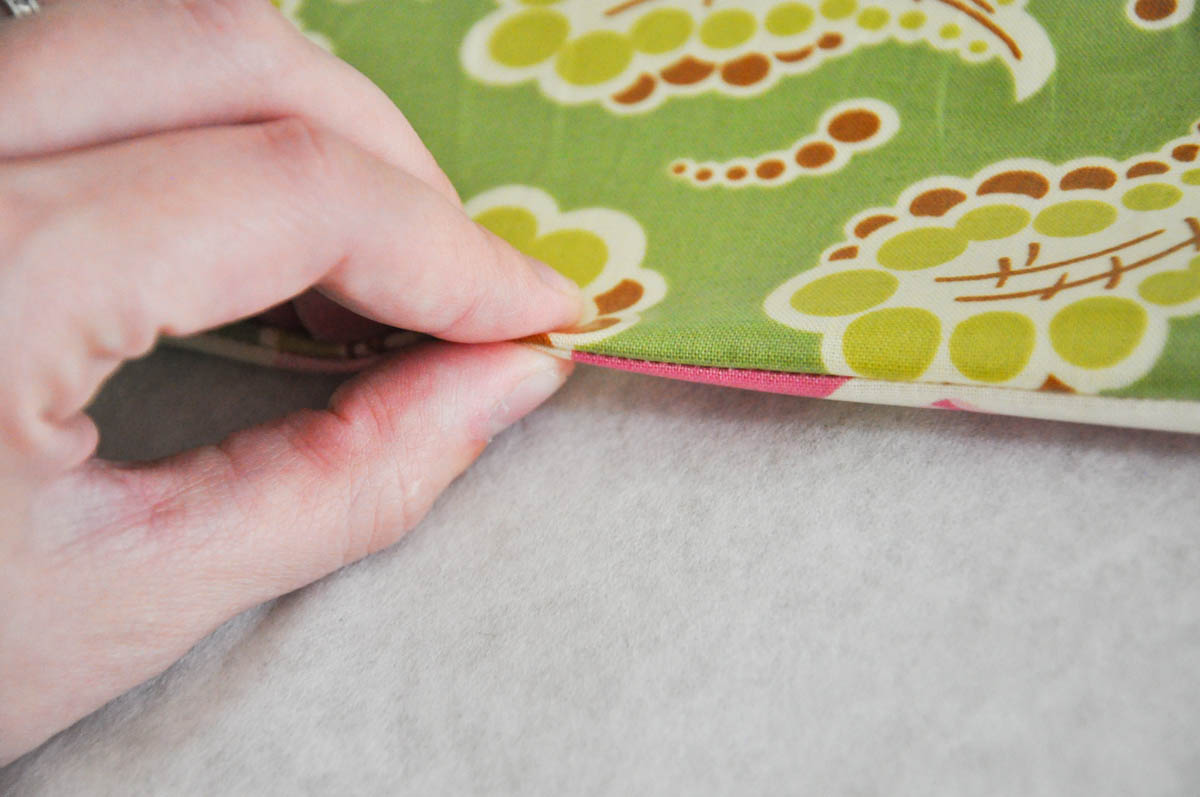
Step 9: After you finish sewing around the edges, tear off your stabilizer. Make sure to hold the mat along the stitching line as you rip the stabilizer away. The trick is to rip at about a 45 degree angle and to rip the stabilizer very quickly, like ripping off a band-aid.
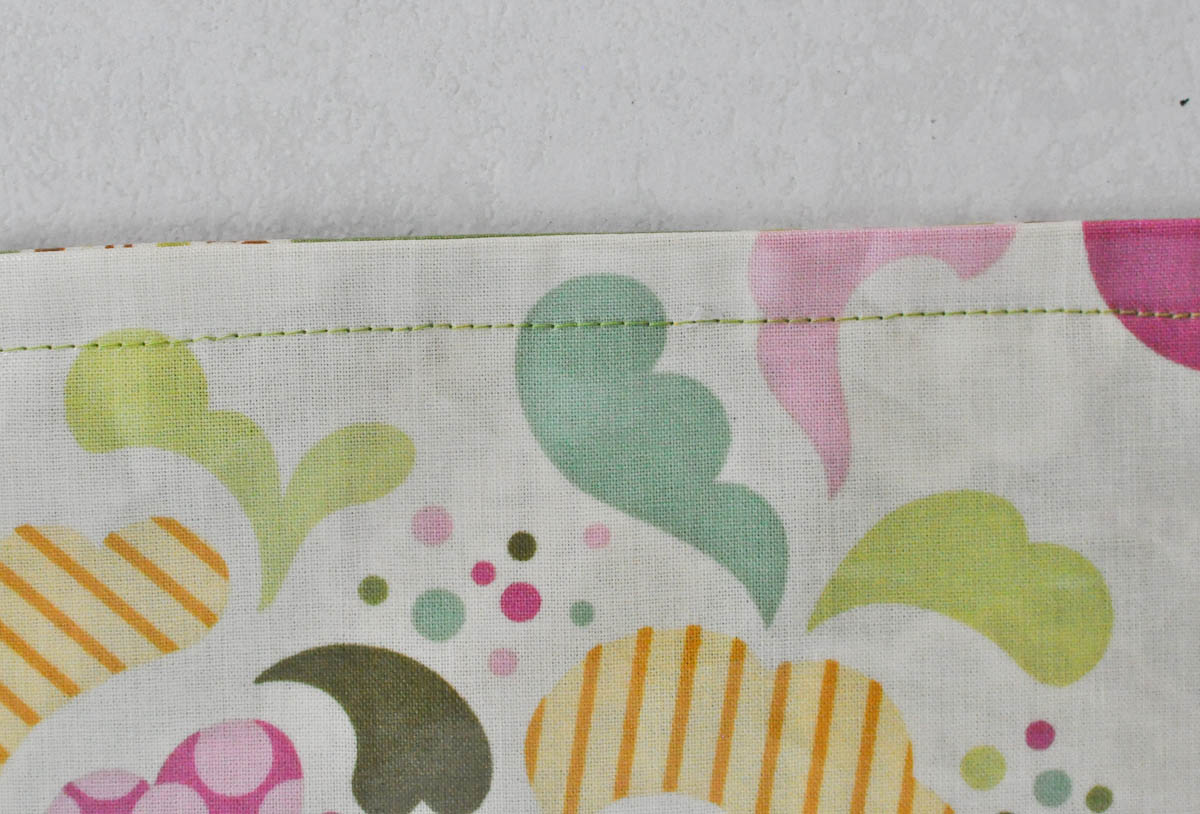
And that’s it! So easy, you should make one for you and one for a friend!


You can find some great laminated prints on the following websites:
You can also find some fun prints on www.etsy.com too. Just run a search for laminated fabric.
Liked this project and want to sew up another fun project? Check out these other telafante tutorials on www.telafante.com!


