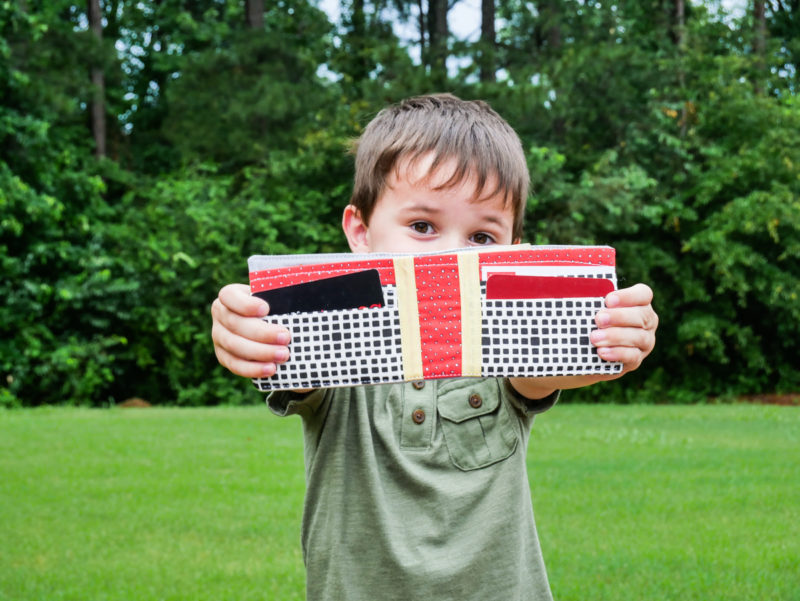
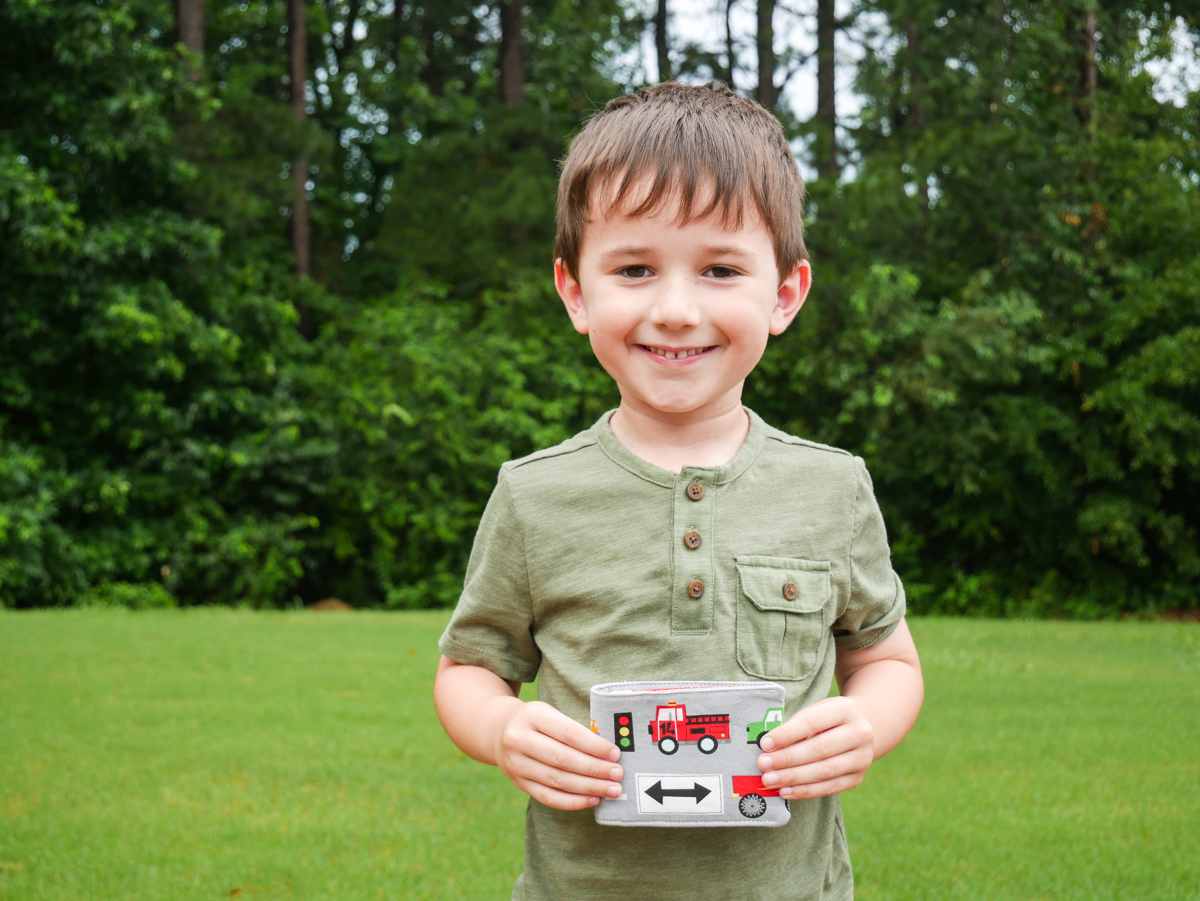
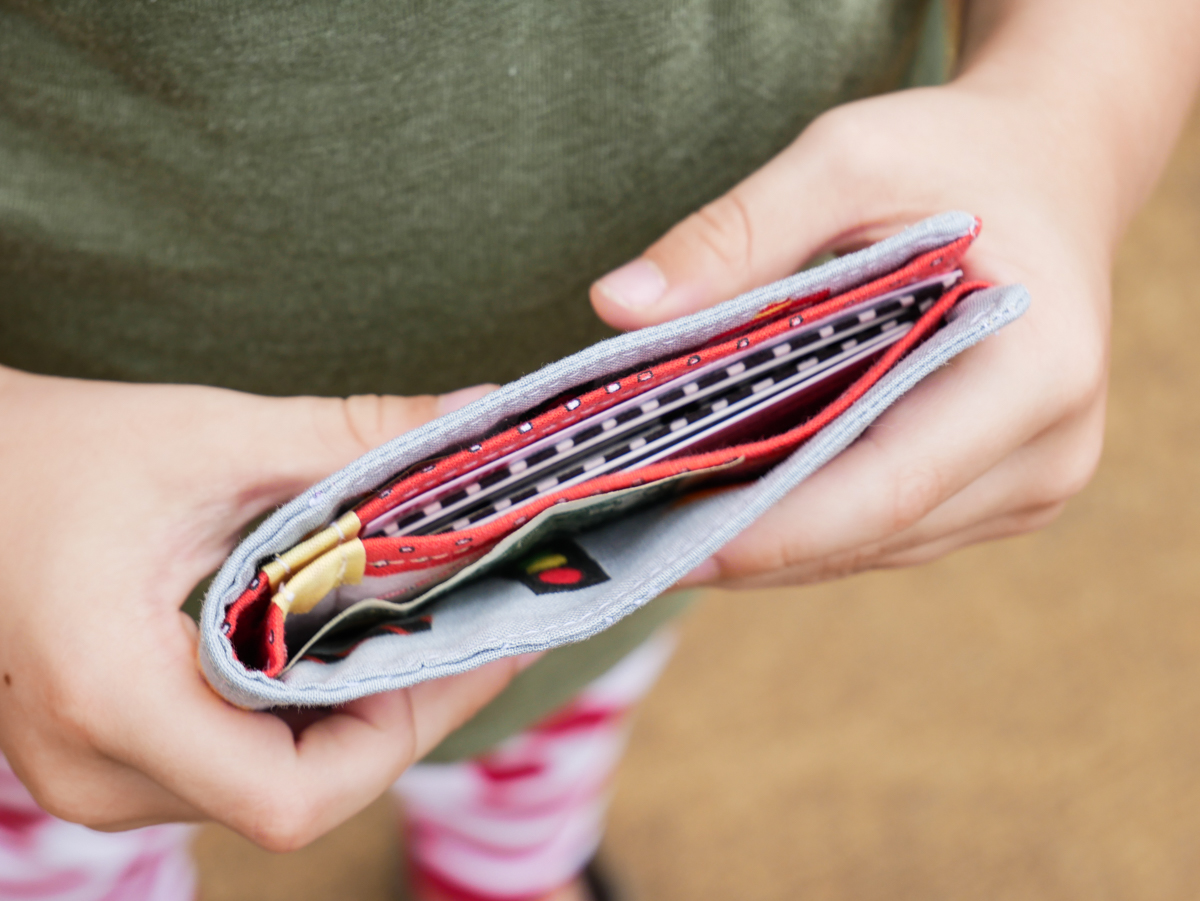
My four year old has been begging me to help him make a wallet. He picked out this truck fabric from Moda, and we picked out coordinating fabrics together. We didn’t use a pattern, but we looked at daddy’s wallet as an example and used its measurements. The wallet roughly measures 9 inches by 4 inches when finished with the card pockets measuring about 4 inches by 2.25 inches.
We used my new Baby Lock Aria that I LOVE! It seriously sews so beautifully! So far I’ve sewn knit fabrics, canvas and waxed leather, and it sews like a charm every time. Des obviously enjoyed sewing with it too…
Let me tell you… This boy seriously surprised me. He’s a little bit of a perfectionist, so I didn’t make sewing a super straight line a big deal. I wanted to make the sewing experience as fun as possible. I thought his stitches would be all over the place, especially since he hasn’t sewn anything with me for a long time. He did such a GREAT job! I showed him where to line up the edge of his fabric as he sewed and off he went! I was totally impressed.
I fused Baby Lock’s Ultra Soft Fusible stabilizer to the back of each card pocket as well as the fabric for the bill compartment and main lining fabric. I love their Ultra Soft Fusible stabilizer for projects that need a little stability, but doesn’t need to be super thick. It’s so lovely to sew as well.
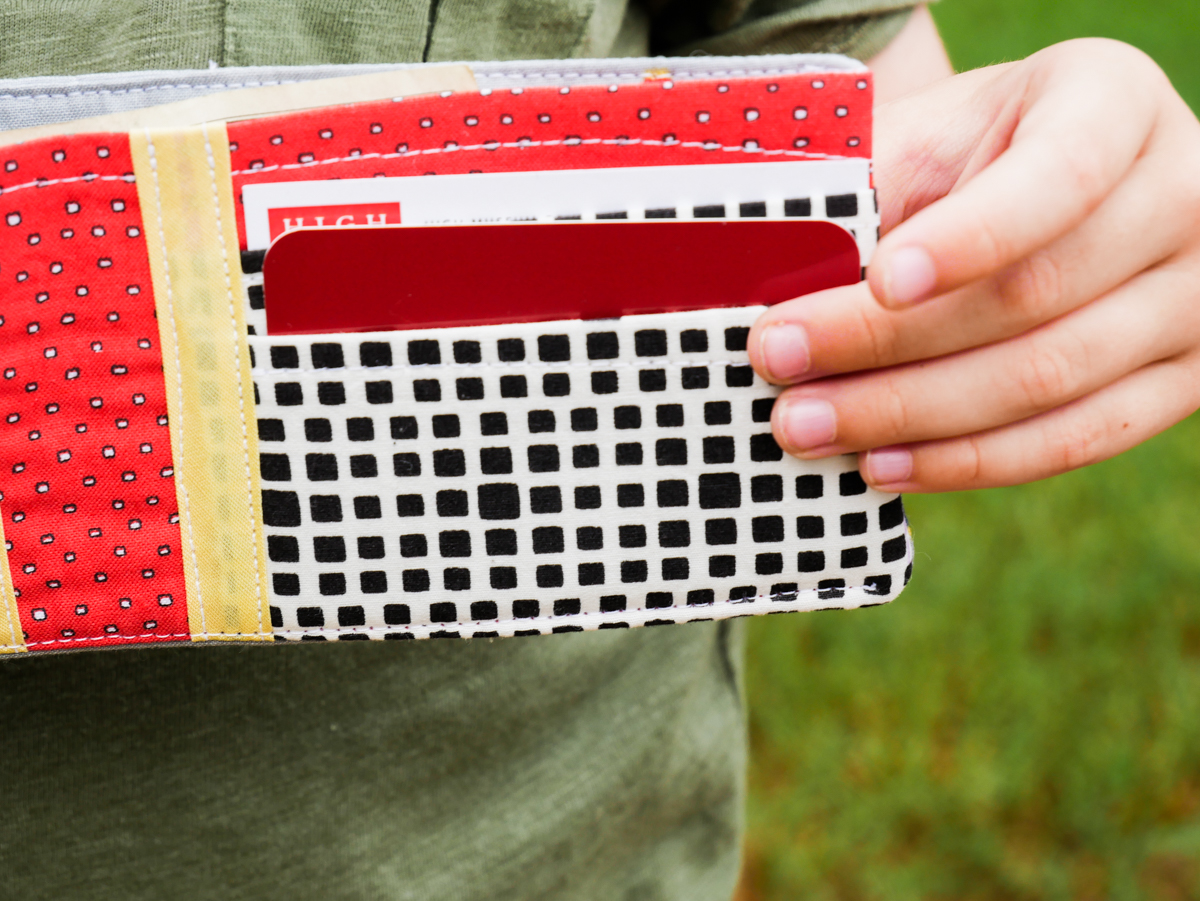
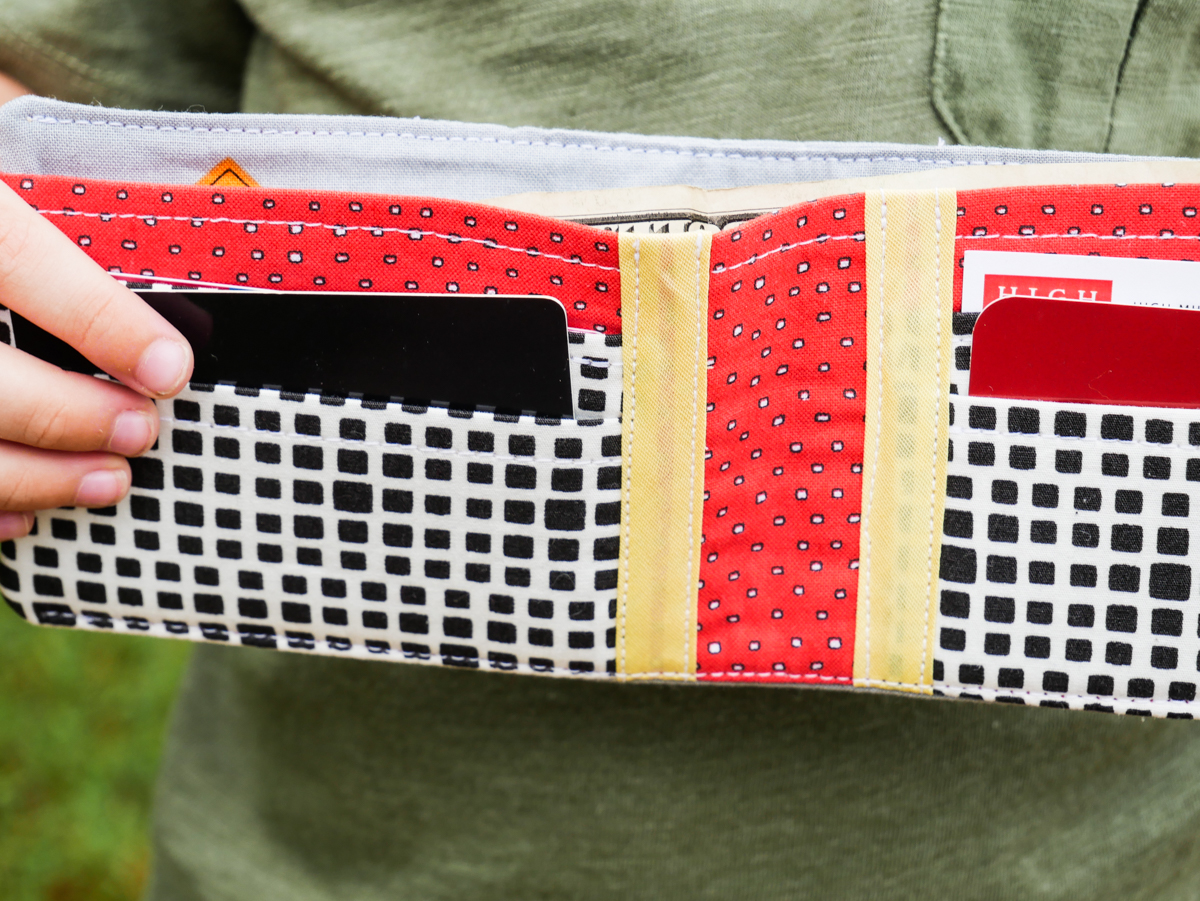
After I fused the stabilizer to the back of the card pockets, I folded down the top about 1/4 inch, then Desmond topstitched along the top edge of each pocket. We did the same thing for the red fabric for the dollar bill compartment.
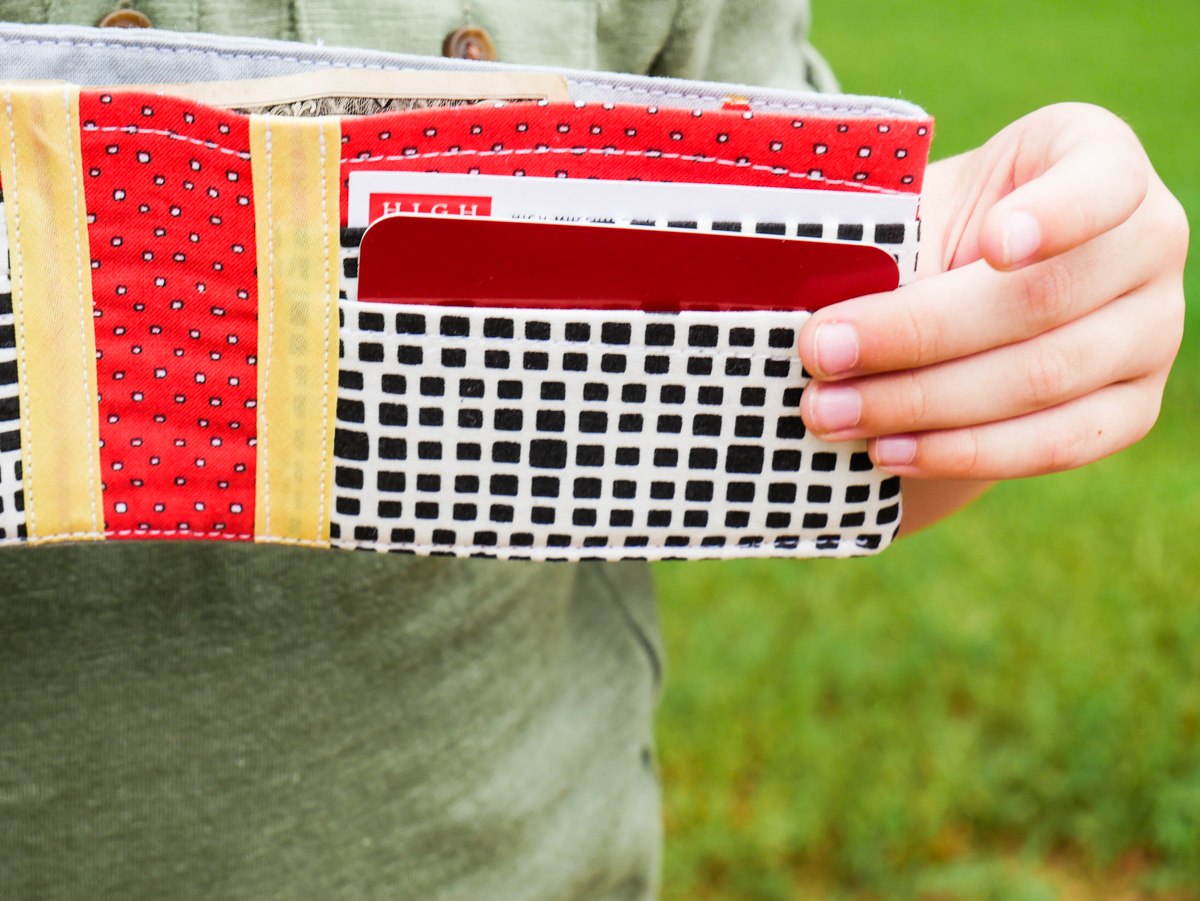
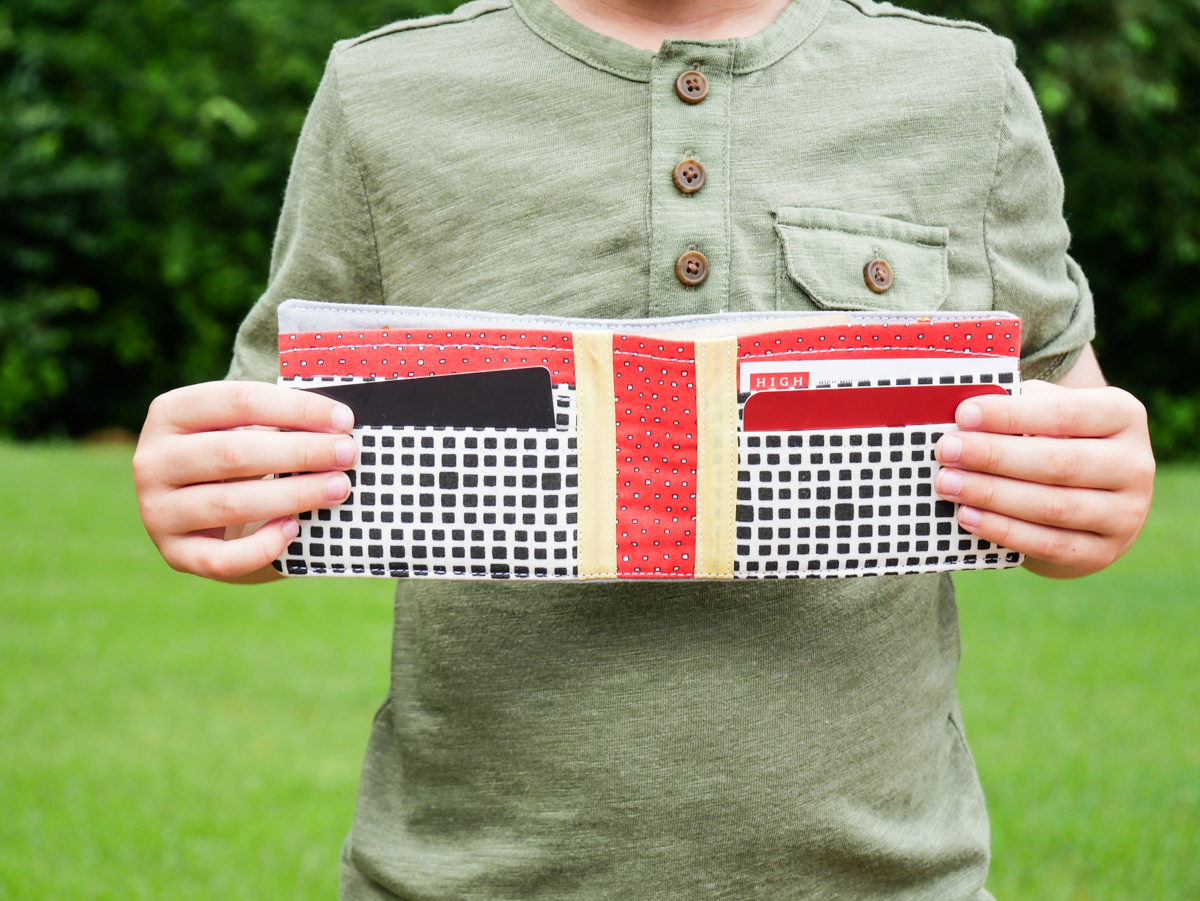
Next, I pinned the pockets where they needed to be on the red fabric, and Desmond sewed them down to the outside edges of the fabric. Instead of turning the opposite edges of the pockets under to sew them to the bill compartment, I placed a piece of binding along the edge, and Desmond sewed two rows of stitching to hold the binding and pockets in place. Check out those awesome straight stitches!
After fusing a piece of Baby Lock Soft and Stable to the lining fabric for the main part of the wallet, we sandwiched all three layers of fabric together. The two main fabrics (the truck pieces) were right sides together with the card pocket/bill compartment in the middle. Line up all three layers along the bottom edge.
Sew around all four sides, but leave a 2.5 inch opening to turn the wallet right side out, sew the opening closed by hand and topstitch along the top and bottom edges if you wish.
Such a fun project for kids or beginners! Des really enjoyed making his wallet and was so proud of his finished project. But not as proud as me! Still so impressed by this sweet, creative boy!
This just rocks! Love that this darling boy loves to sew 🙂 And you go, Mama, for having the patience and taking the time to teach him! (Plus I’m a bit partial that he’s learning on Baby Lock machines, haha!)