
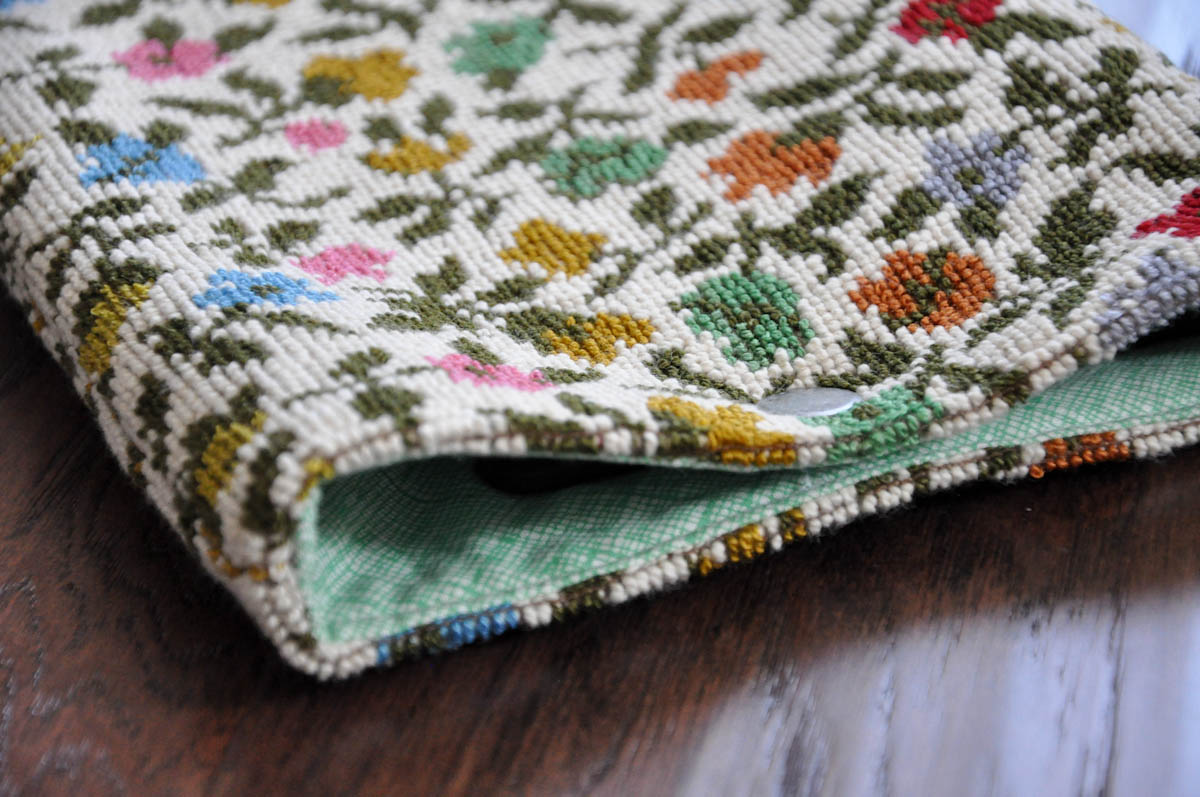
So, I’ve had this awesome floral print sitting in my sewing room for the last three or four years. I love it. It’s a vintage upholstery weight fabric that belonged to a sweet lady who was a fantastic seamstress. It was almost thrown out when we were cleaning, but I couldn’t let it go. I wanted to sew a little something out of it to see how it would handle under the needle, and I still have more left to play with some other time!
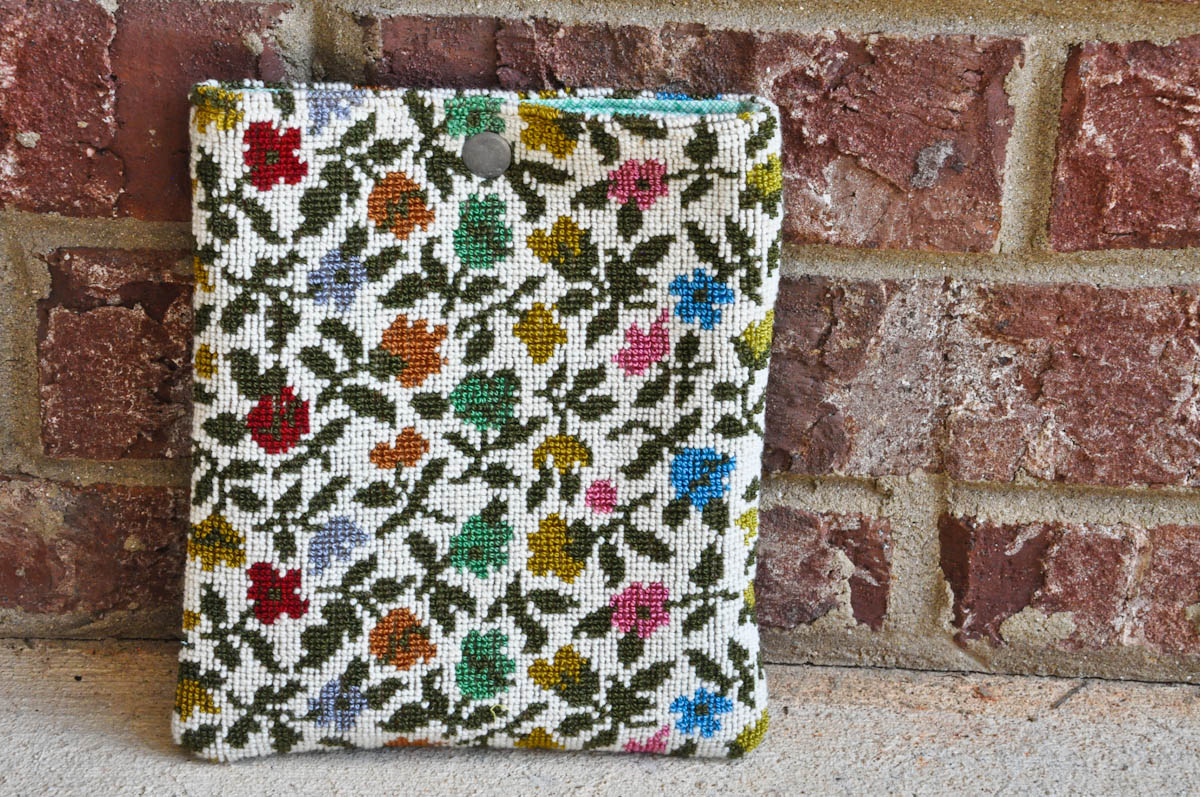
I ended up making a “vintage” kindle case. Here’s a tutorial, so you can make one too!
Supplies:
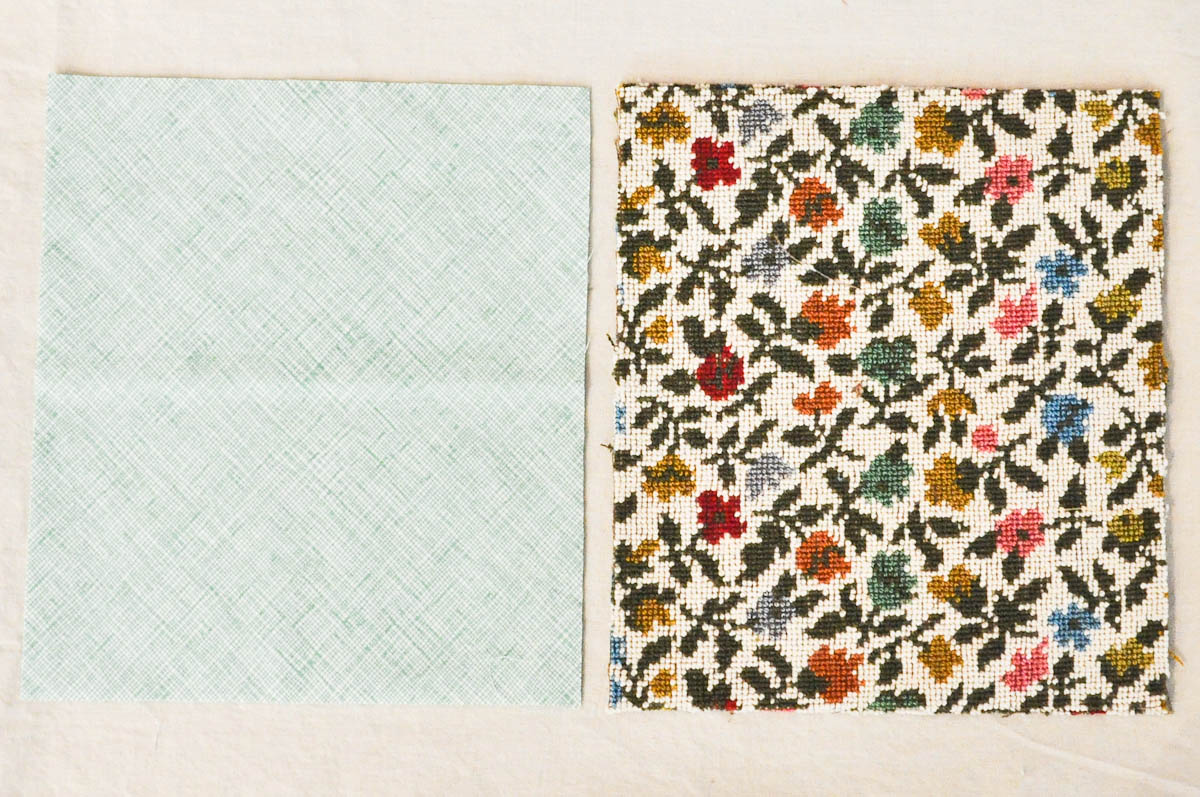
2 – 8″ x 9″ pieces of main fabric
2 – 8″ x 9″ pieces of lining fabric
2 – 8″ x 9″ pieces of lightweight fusible interfacing
1 – metal snap and snap setter
coordinating thread
Step 1: Cut out your main fabric, lining fabric and interfacing.
Step 2: Iron your fusible interfacing to the wrong side of each of your lining pieces of fabric.
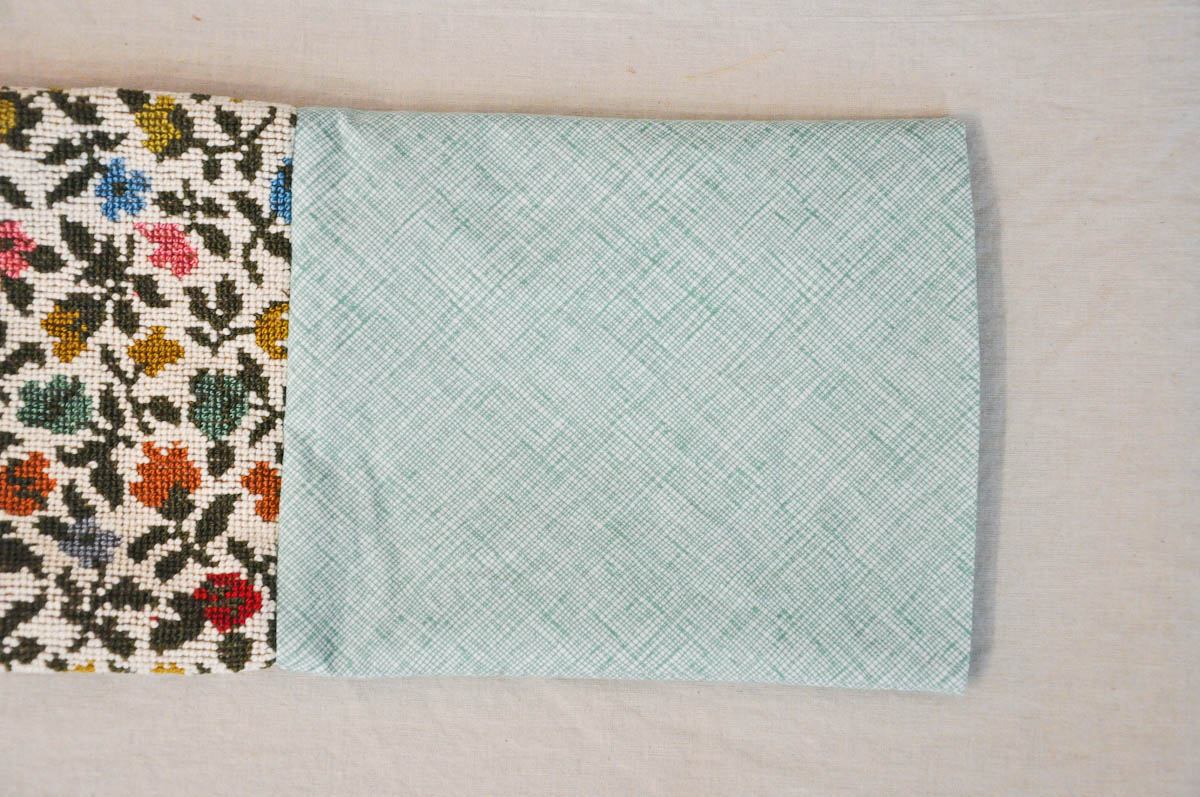
Step 3: With right sides together, sew the two main pieces of fabric together with a 1/2″ seam allowance. Clip corners and press seams flat. Turn right sides out.
Step 4: With right sides together, sew the two lining pieces of fabric together. (You should see the interfacing on the outside while you sew.)
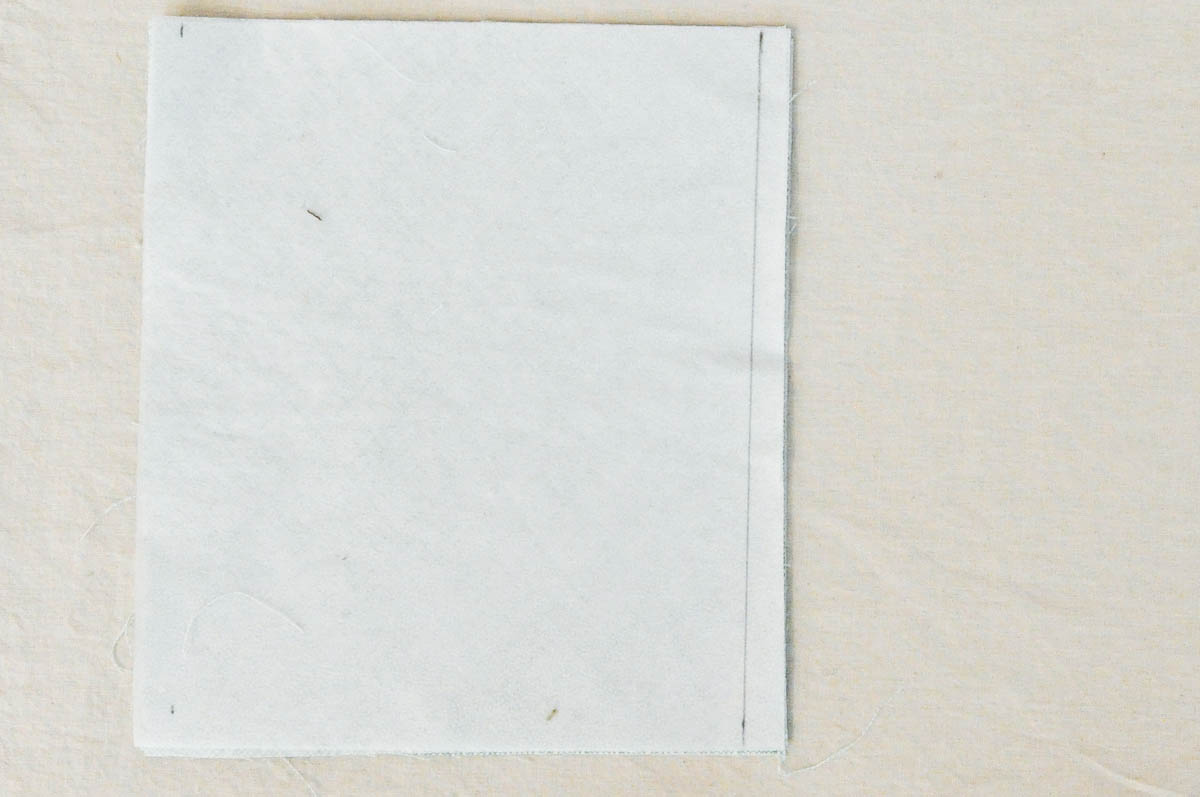
Here’s a trick you will want to know… When you put the case together, the lining fabric can sometimes be bulky on the inside. If you want to keep that from happening, follow these steps:
At the top of your lining pieces, measure and mark 1/2″ from the left and right sides of the fabric. At the bottom of your lining pieces, measure and mark 3/4″ from the left and right sides of the fabric. Using a ruler, draw a line from the top mark to the bottom mark. Sew along that line. This way, the seam at the top of the case is the same as the outside fabric, but slowly takes away any extra bulk towards the bottom of the bag.
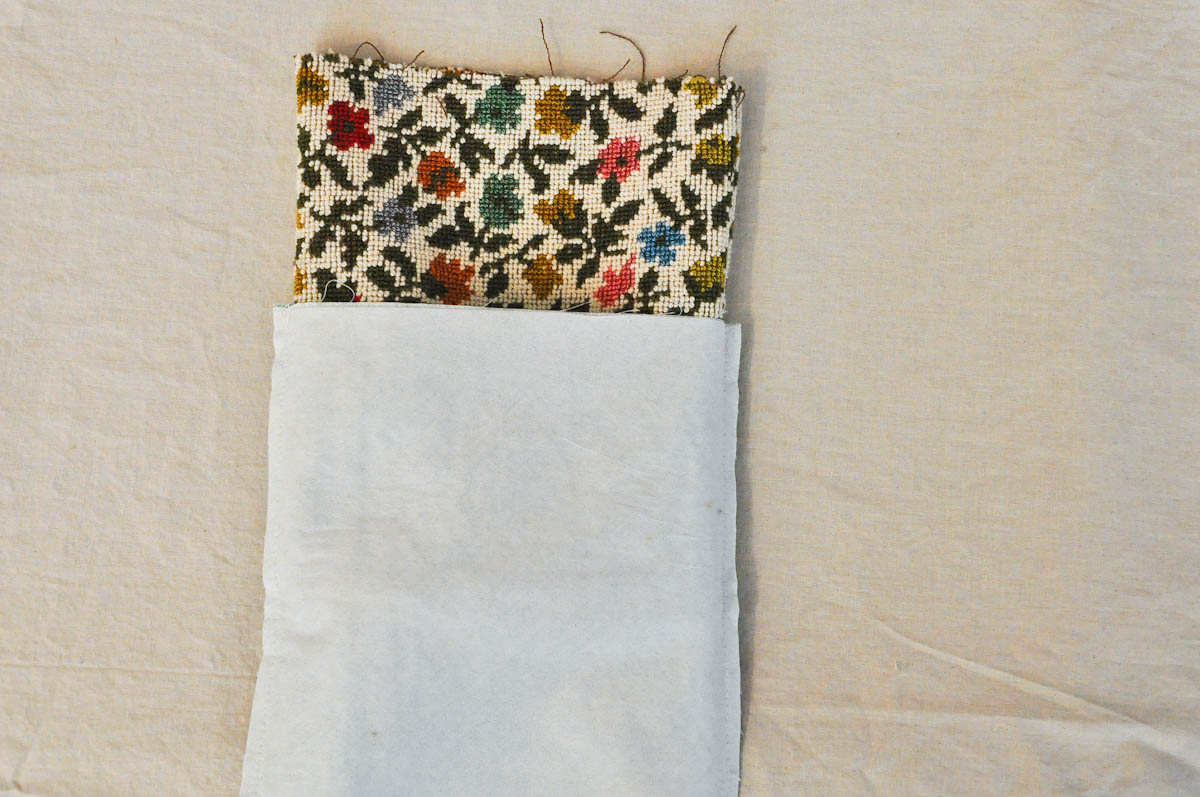
Step 5: Place the outside of your case inside the lining pieces with right sides together. Pin them together and sew around the top edge of your case with a 1/2″ seam allowance. Turn the lining pieces right sides out.
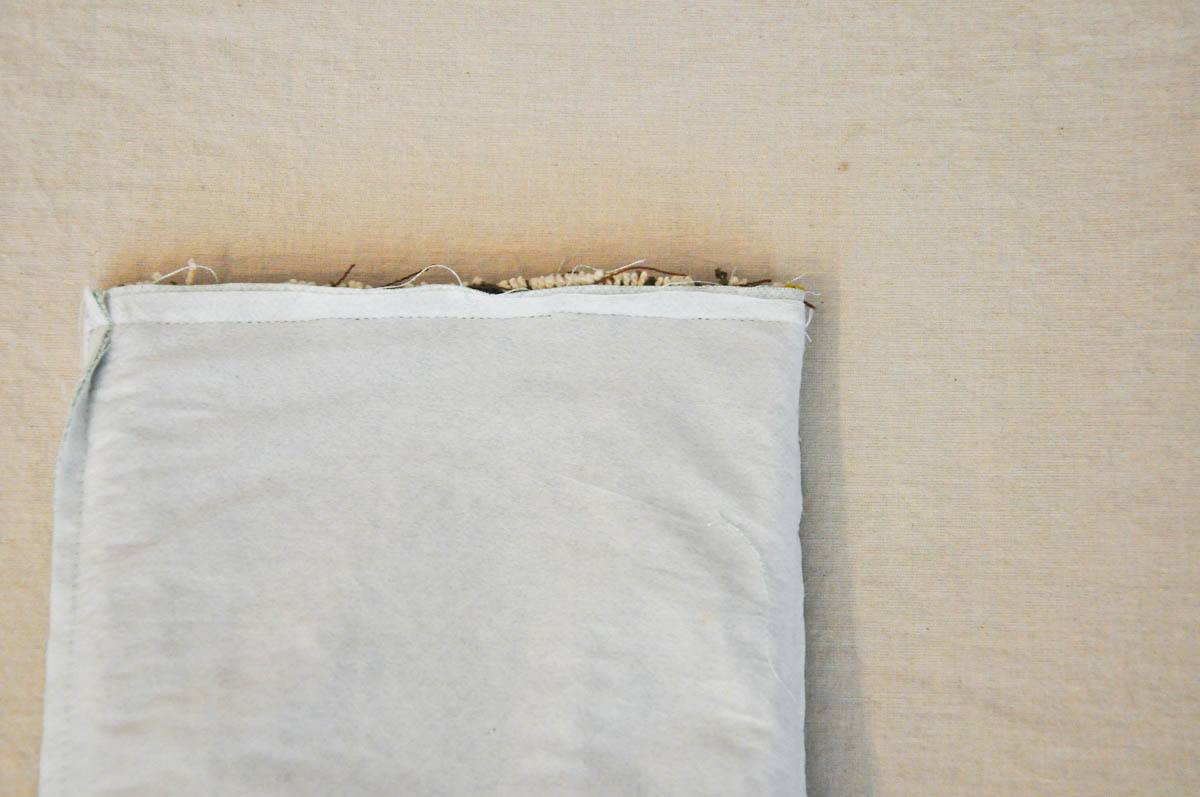
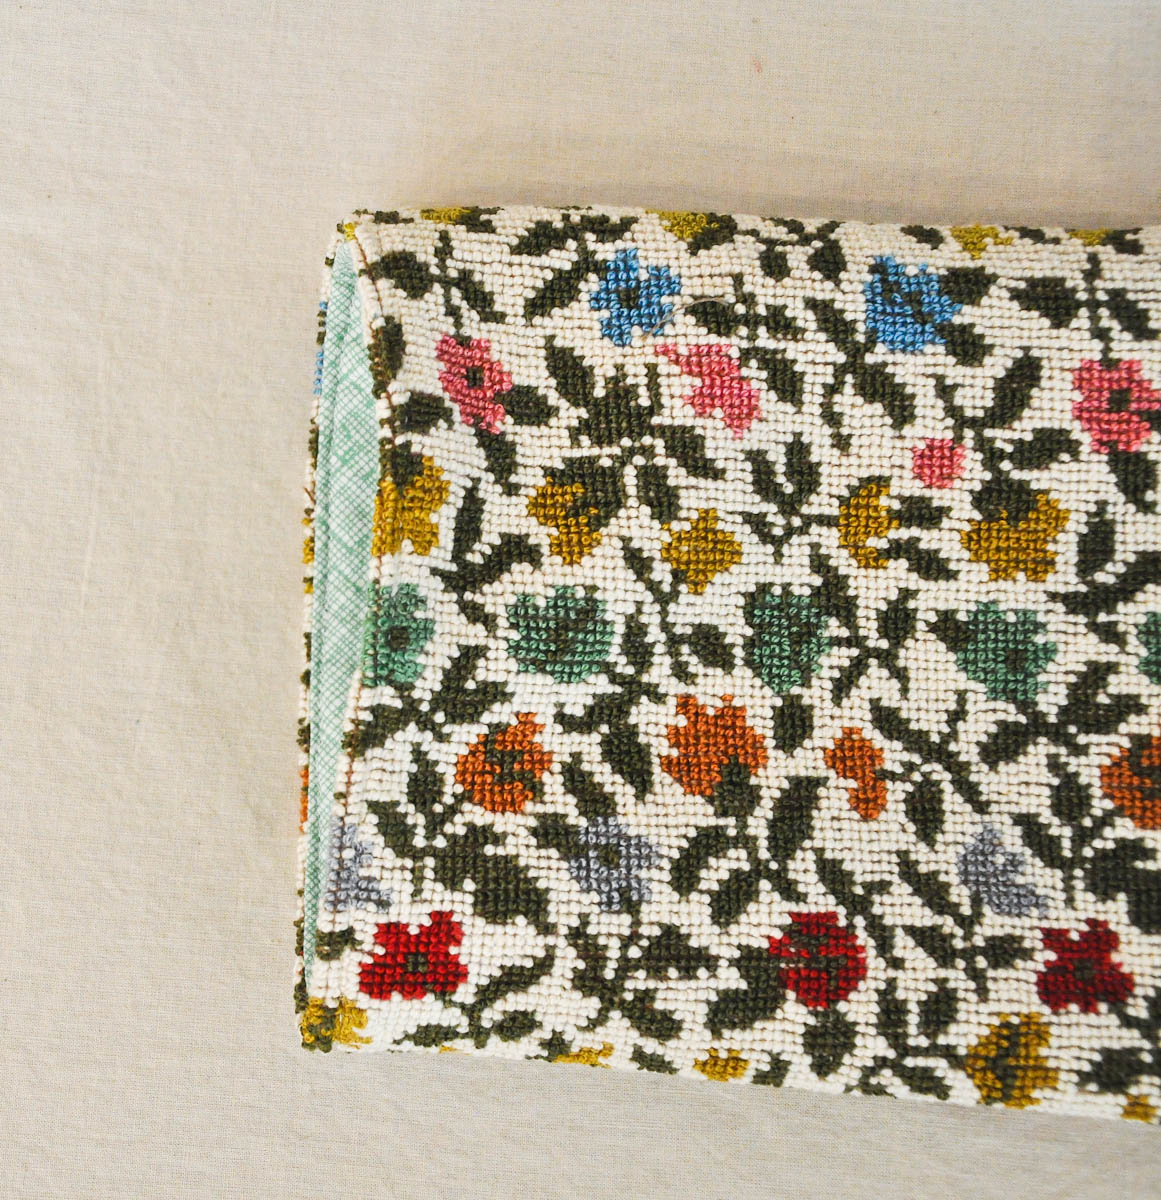
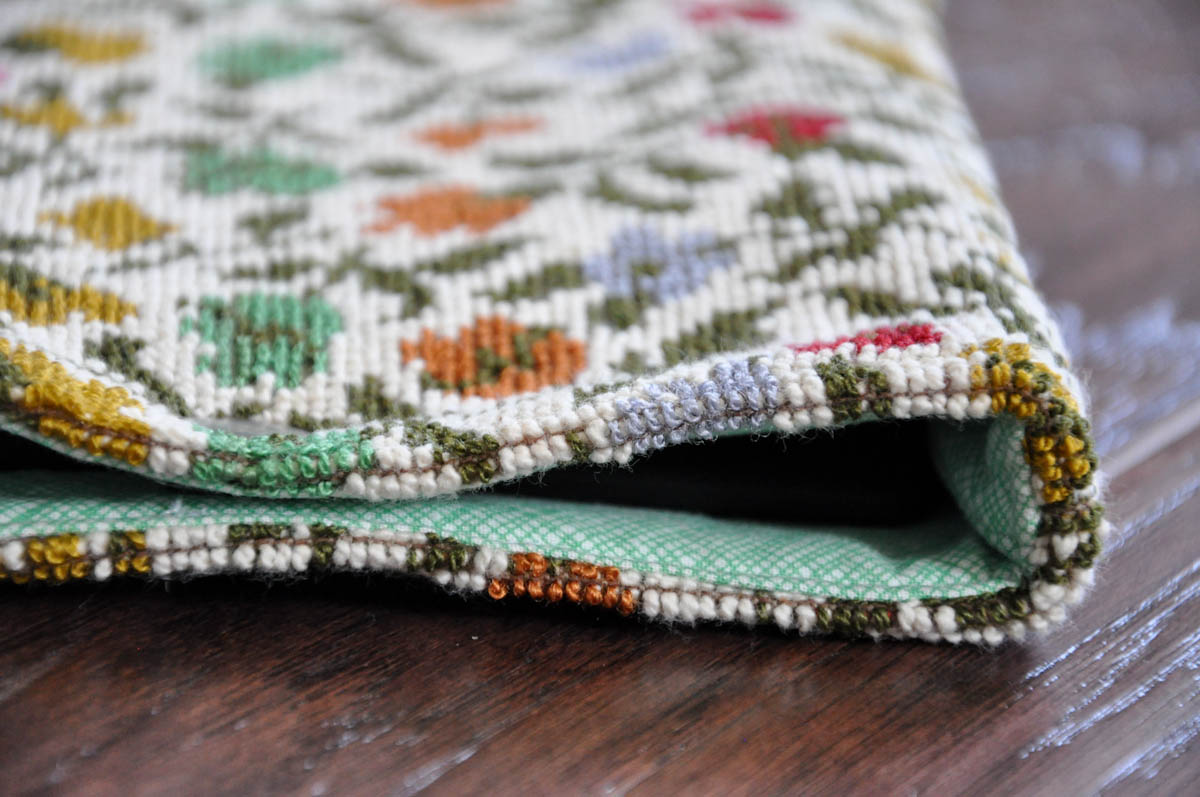
Step 6: Tuck the raw edges of the lining inside about 1/4″ and pin. Before you sew, tuck the lining inside your case to see if the lining is too long and bulky on the inside. If it is, you can trim it, tuck in the raw edges and check again. When the lining is the correct length, and you’ve tucked your raw edges inside for the last time, topstitch about an 1/8″ from the edge to close your opening.

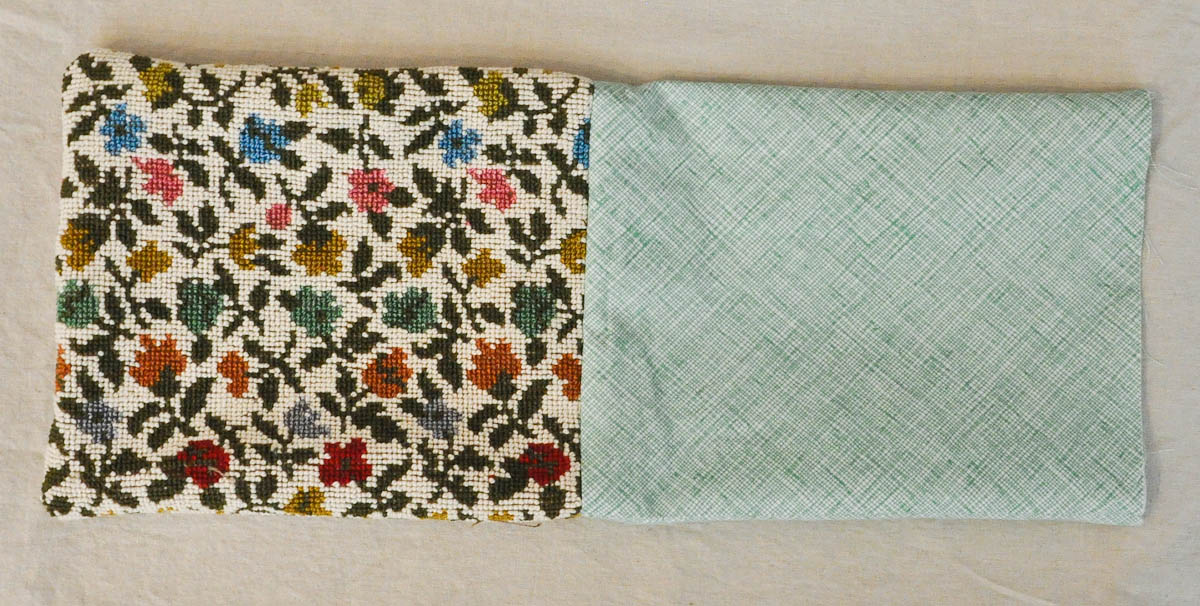
Step 7: Tuck your lining inside the case and iron around the top edge. Topstitch about 1/8″ from the top edge. This will keep your lining from sliding out of place at the top.
Step 8: Attach your snap at the top and put your kindle in its fancy new case!
{You can also make a more masculine version, like this one!}