Desmond is turning ONE! We are having a little party this weekend to celebrate, and I needed some “Happy Birthday” garland. I looked around on etsy and found a lot of cute birthday banners, but then I realized: Wait. I can do this myself! I used Evy’s AlphaBlocks designs to stitch the outline of the letters, cut them out and connected them with striped yarn. They are awesome. I am so glad I decided to make my own and seriously wanted to keep making more letters out of every color of felt in my sewing room. They are so much fun to make!
Supplies:
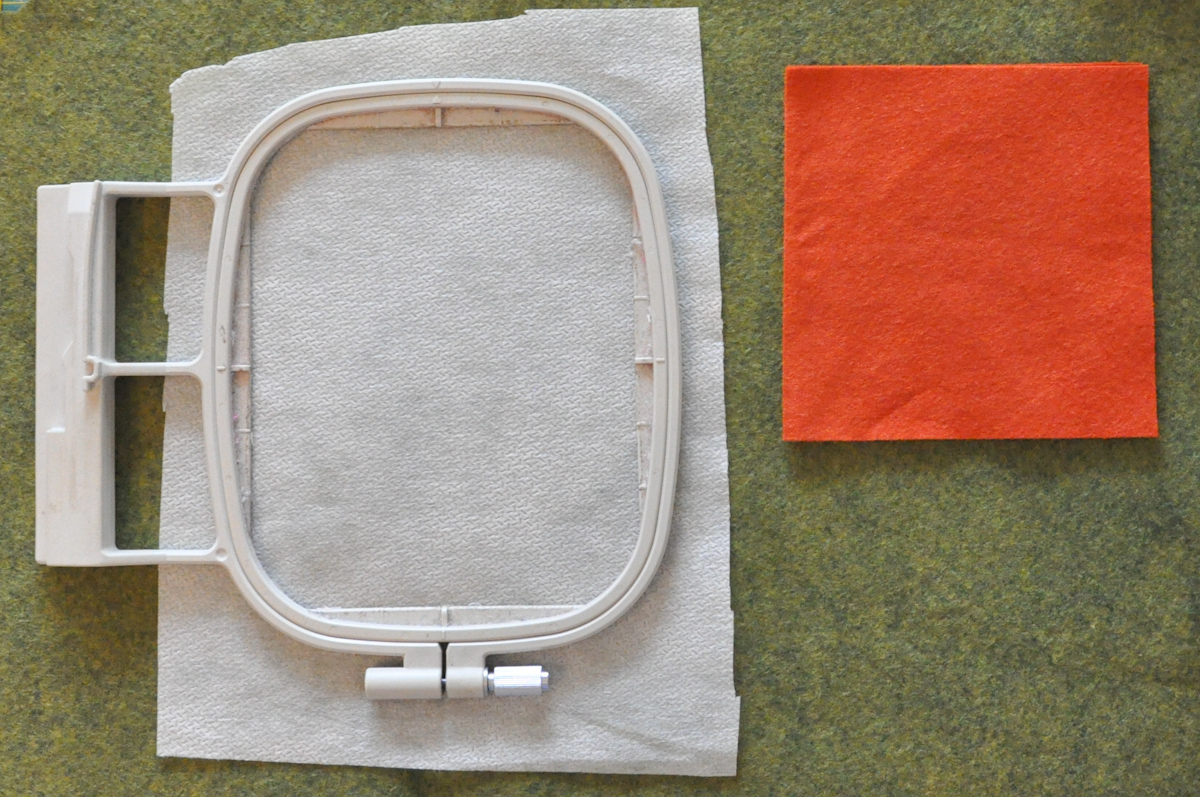
2 felt 5 inch squares
cut away mesh stabilizer (This gives the letters a little more structure.)
coordinating thread (Make sure you use the same thread in the top and in the bobbin. Do not use bobbin thread, just use general purpose thread for both the top and bottom.)
embroidery machine and hoop
Instructions:
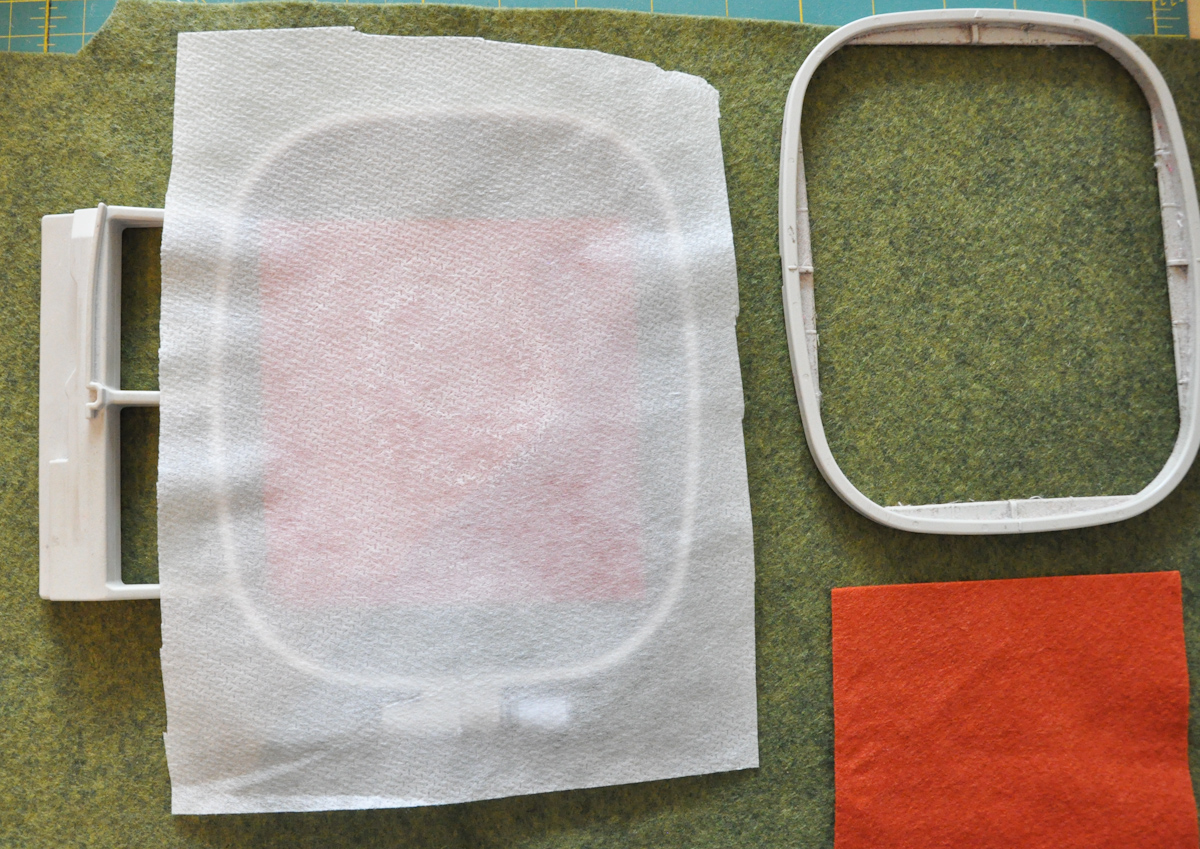
Step 1: Cut your stabilizer to fit inside your hoop with about an inch sticking out over the sides.
Step 2: Cut two pieces of felt into 5 inch squares.
Step 3: Apply temporary spray adhesive to the center of one of your felt squares in a circular motion. You do not need to spray the entire piece of felt; just the area in the center.
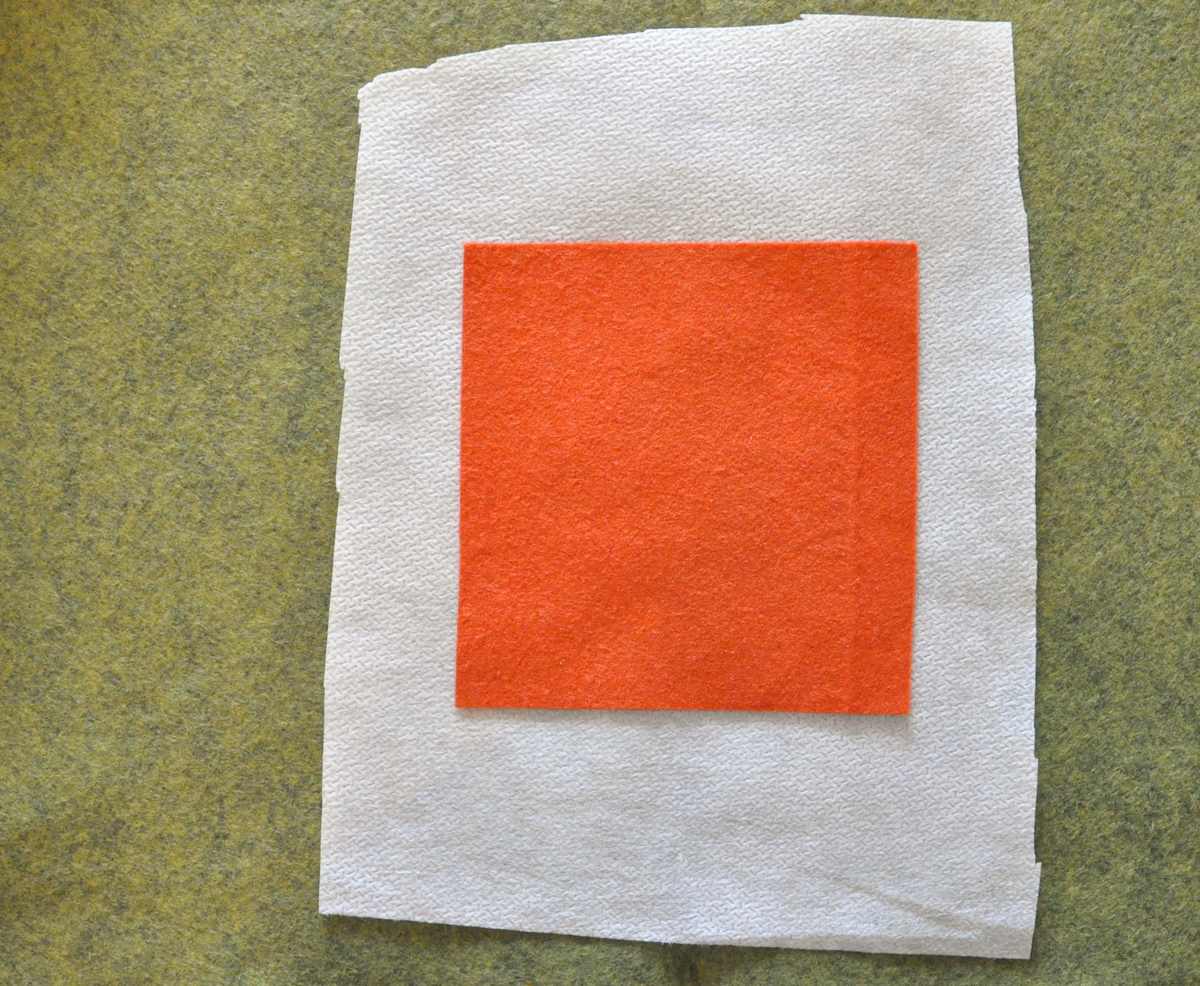
Step 4: Stick your felt square to one side of your stabilizer. Flip it over so your felt is on the bottom and place your stabilizer in the hoop. You need to make sure that the felt piece is centered in the hoop, not the stabilizer. It would be helpful to mark the center of the felt and line it up with the arrows on your hoop. Make sure you secure the stabilizer in the hoop, but do not pull at the stabilizer to adjust it once you tighten the hoop. If you need to shift the stabilizer in the hoop, loosen it, and then adjust it.
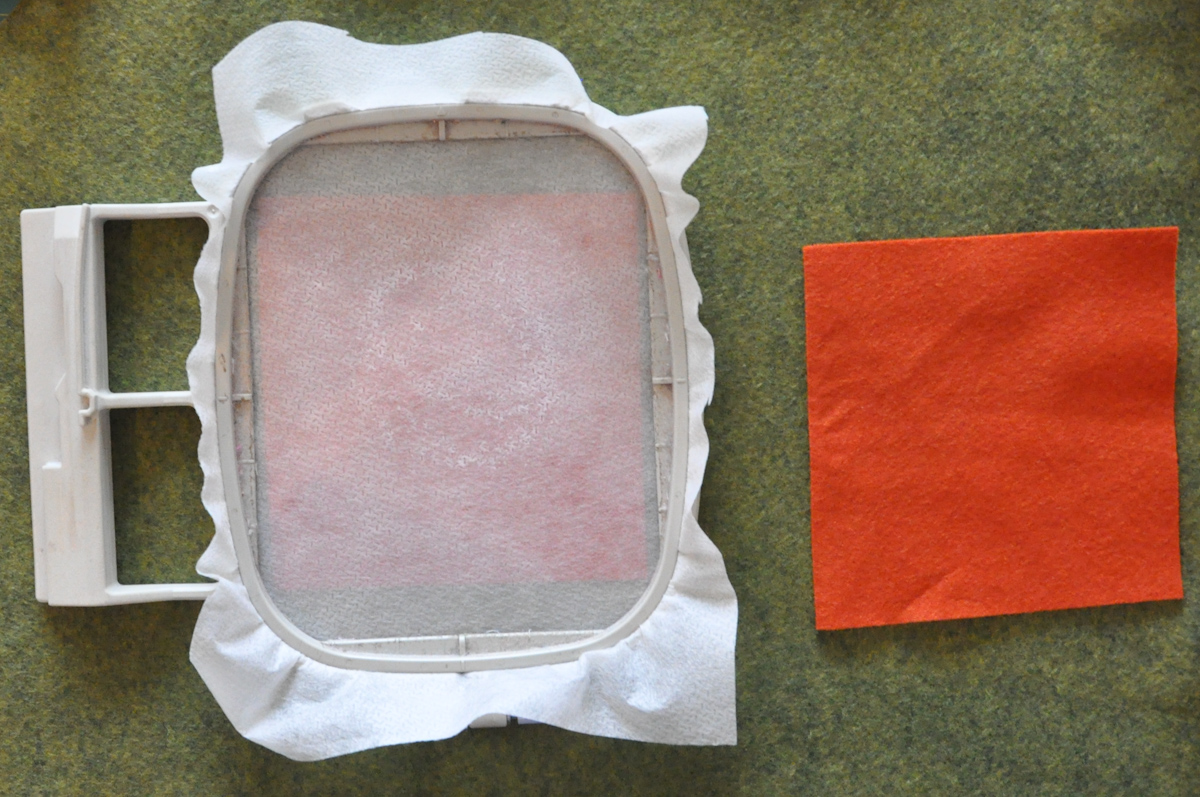
Step 5: Once your stabilizer with the felt attached to the back is positioned in your hoop, place the other felt piece on top of the stabilizer. You should have three layers now: a felt square on top, your stabilizer in the middle, and your second felt square on the back. You should be able to see through your stabilizer, so make sure you position your top felt square exactly over your bottom felt square.

Step 6: Now you are ready to start sewing! Place the hoop in your machine and stitch only the first applique material outline.
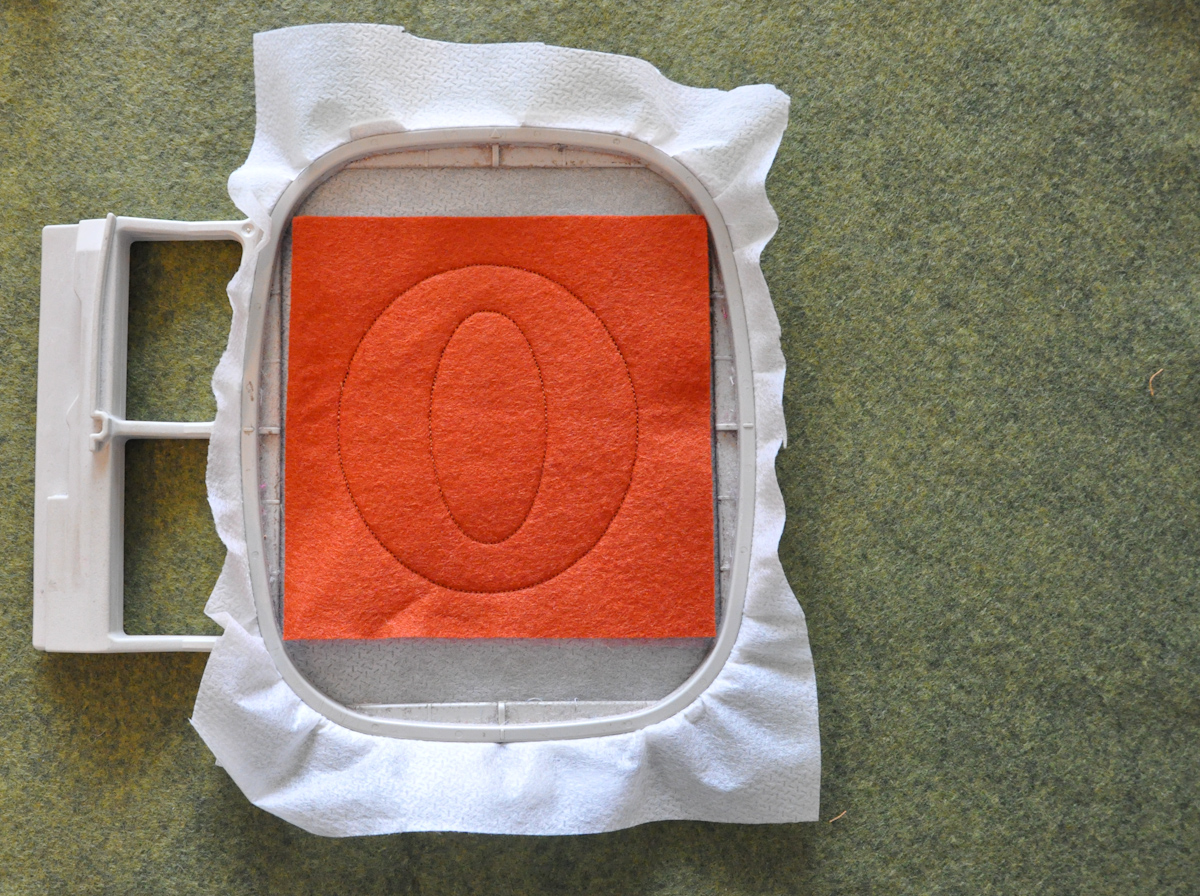
Step 7: After the stitching is complete, remove your fabric from the hoop and cut out your letters. You want to cut close to the stitches, but not too close or your stitches will come out. (Ask me how I know…)

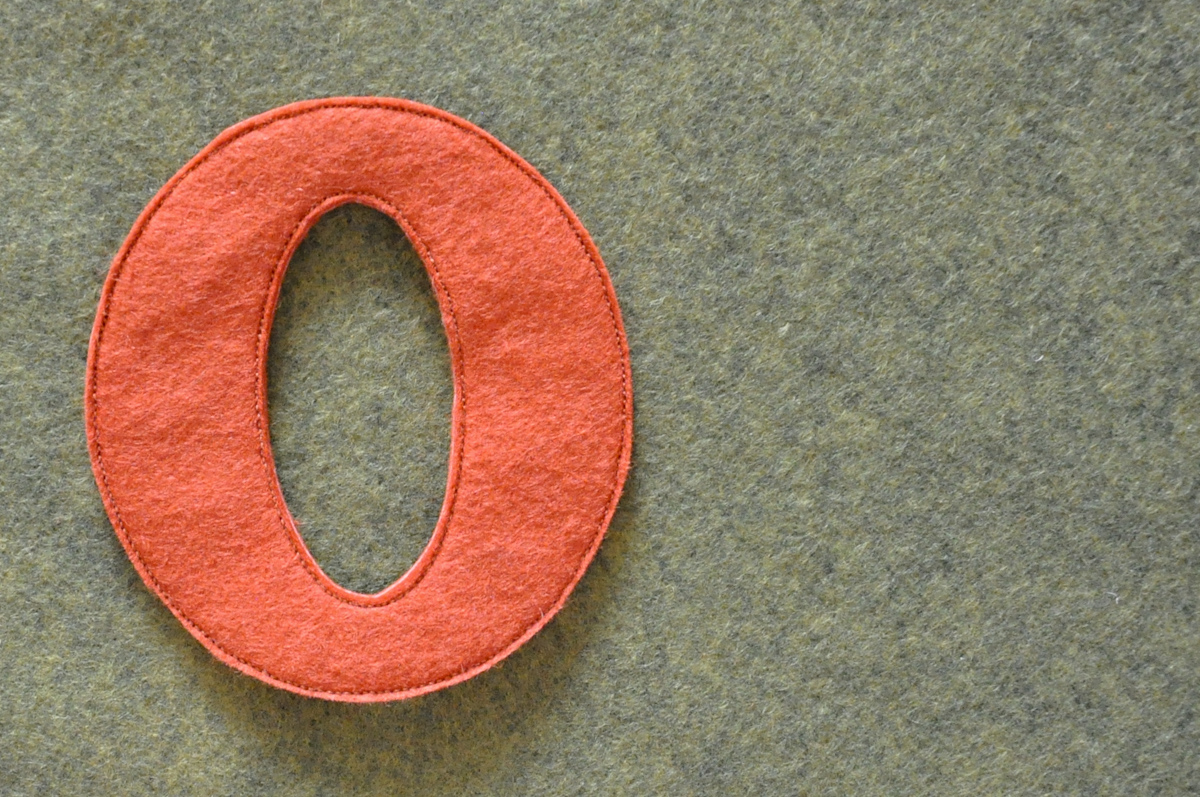 And that’s one letter! Now go stitch out the rest of the alphabet!
Here’s a sneak peek at the birthday garland!

One response