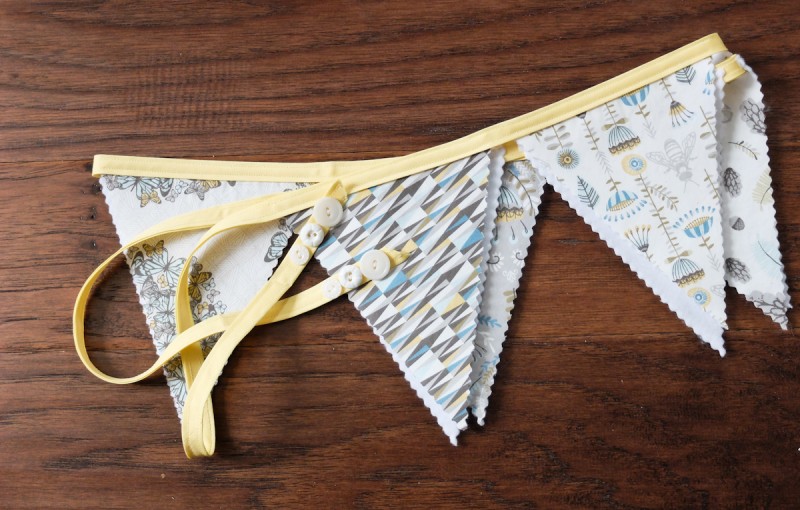
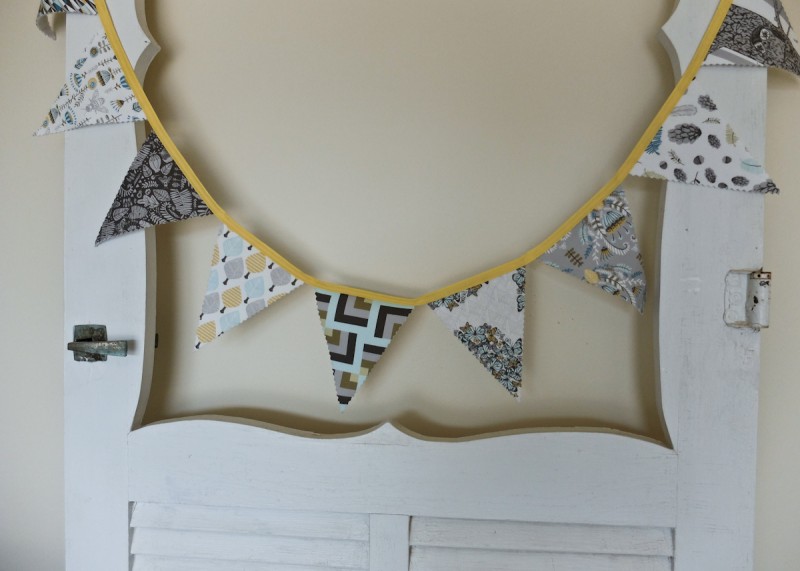
The scraps left over from my Norwegian Wood Floor Pillow were so pretty that I wanted to make something else! This Norwegian Wood Bunting tutorial is super quick and easy to make! Just in case you didn’t catch the floor pillow post, this fabric is from Hawthorne Threads digitally printed collection Norwegian Wood.
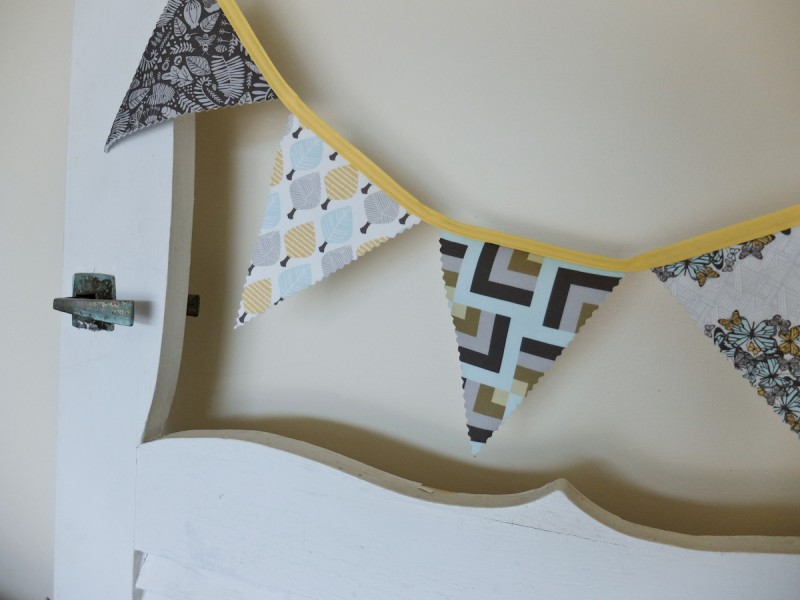
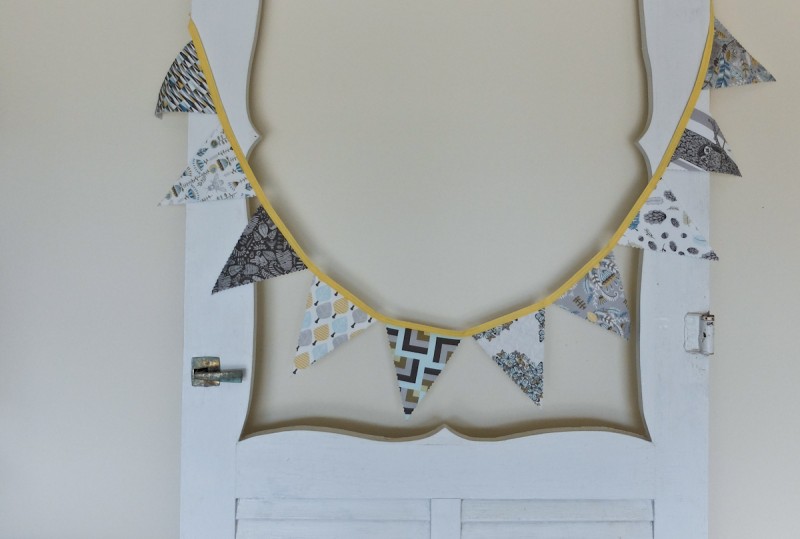
It would be beautiful to hang on the wall in a playroom or nursery and set up your pillow under it to create a cute little reading corner! I tried to convince Desmond that he needed them in his room… I thought the owls would win, but apparently only stop signs and fire trucks are allowed in his reading corner…
You could even use the bunting to decorate for an outside party or wedding! Those butterflies and bees would be perfect!

Here’s what you need:
– at least 10 triangles (click the following link for the measurements to create your triangle pattern: bunting triangle template)
– 1/2 yard of fusible fleece
– 3 yards of extra wide double fold bias tape (The color lemon ice matches perfectly!)
– rotary cutter with regular blade
– coordinating thread
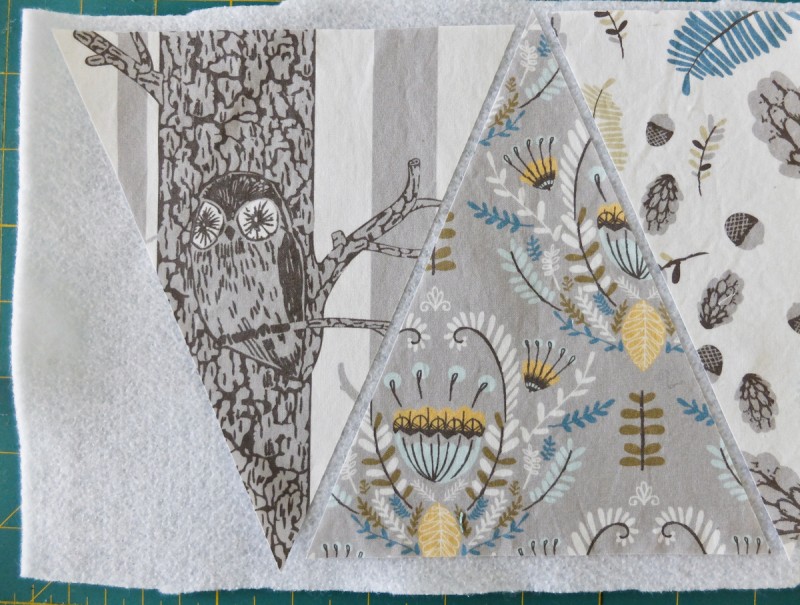
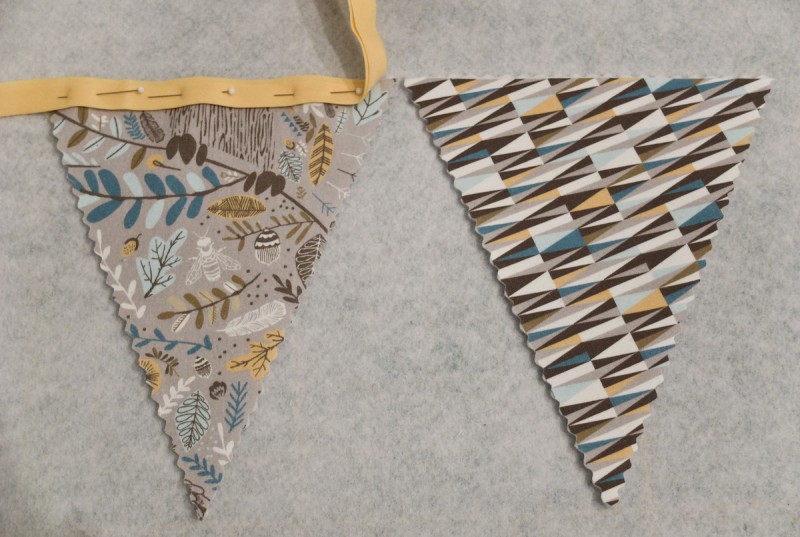
Step 1: Print out your bunting triangle template and create your pattern out of cardboard or another sturdy piece of material with the measurements provided. Cut out your triangles using your regular blade in the rotary cutter
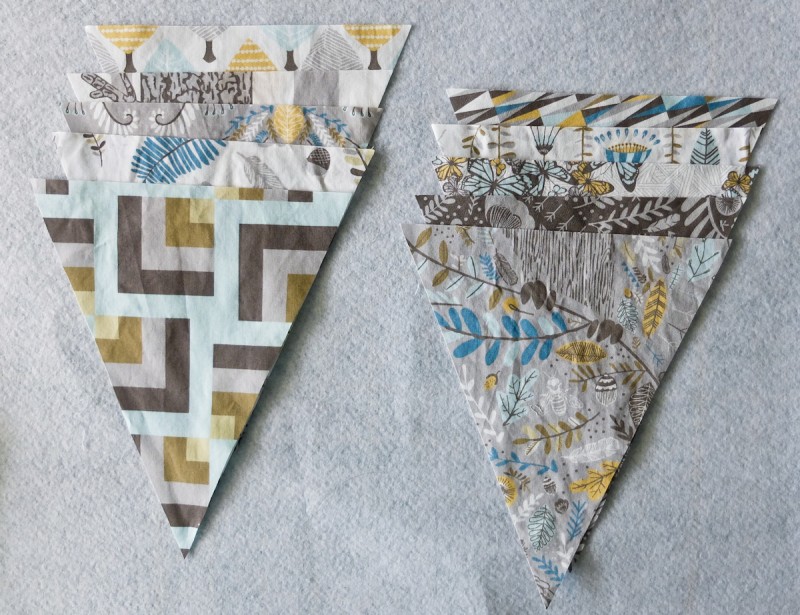
Step 2: Lay your triangles out on the fusible fleece with the wrong side of the triangle on top of the fusible side of fleece. Space your triangles about 1/4 inch apart from each other. You don’t want to leave too much space or you’ll end up with all sorts of stickiness on your iron. You can use a thin iron cloth (any thin fabric that can stand the heat) over your triangles as you iron the triangles to the fusible side of the fleece, but I ironed directly on my triangles. If you end up with a sticky iron, just use an iron cleaner from any craft store to clean it up afterwards. Make sure your triangles are securely ironed to the fleece. If you can easily separate the fabric from the fleece, iron them some more.
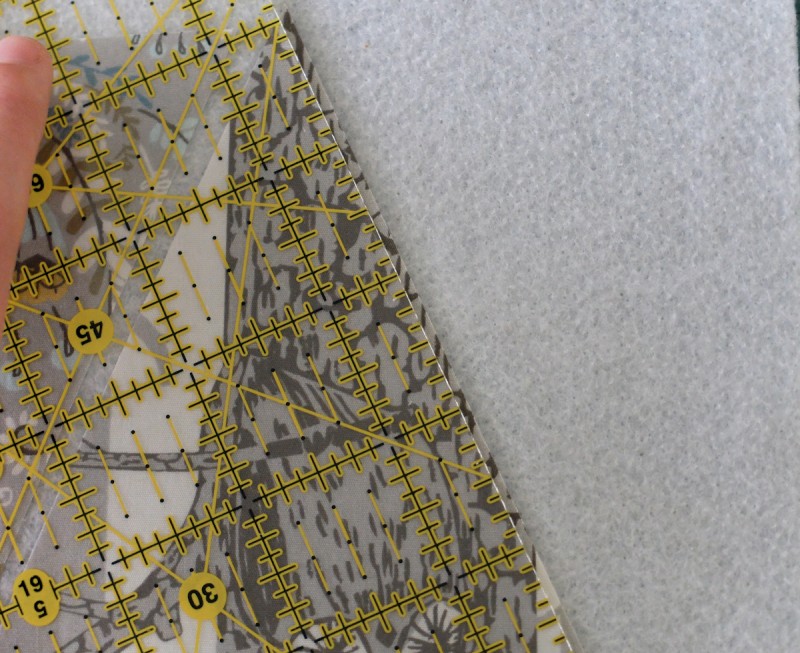
Step 3: Using your pinking rotary blade, cut out your triangle/fleece combo. Place your ruler slightly over 1/8 inch from the edge of your triangle as you cut to make sure you catch all edges of the pinking blade.
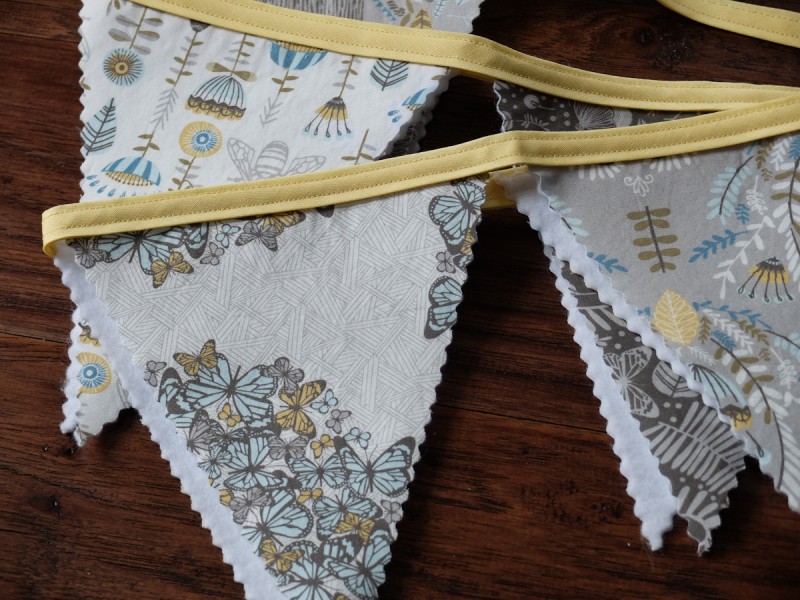
Step 4: After you have all your triangles backed with fleece cut out, lay out your triangles in the order you want them with about 1/8 inch between each top point. Measure about 18 inches from one end of your bias tape and start to pin your bias tape to the top edge of each triangle. Make sure the top edge of the bias tape is slightly above the top edge of the triangle. (If you want the ends (tails) of your bunting to be longer, measure how long you want them to be and then start at that point. Just make sure you leave some sort of tail on each end of the triangles!)
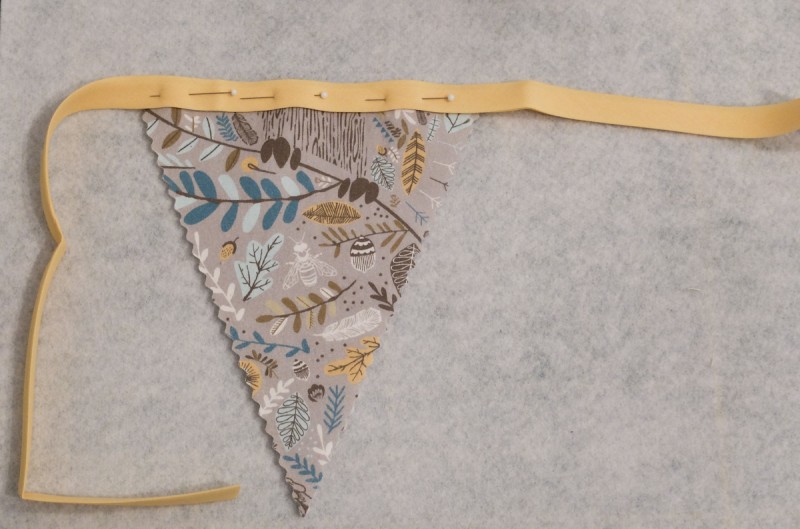
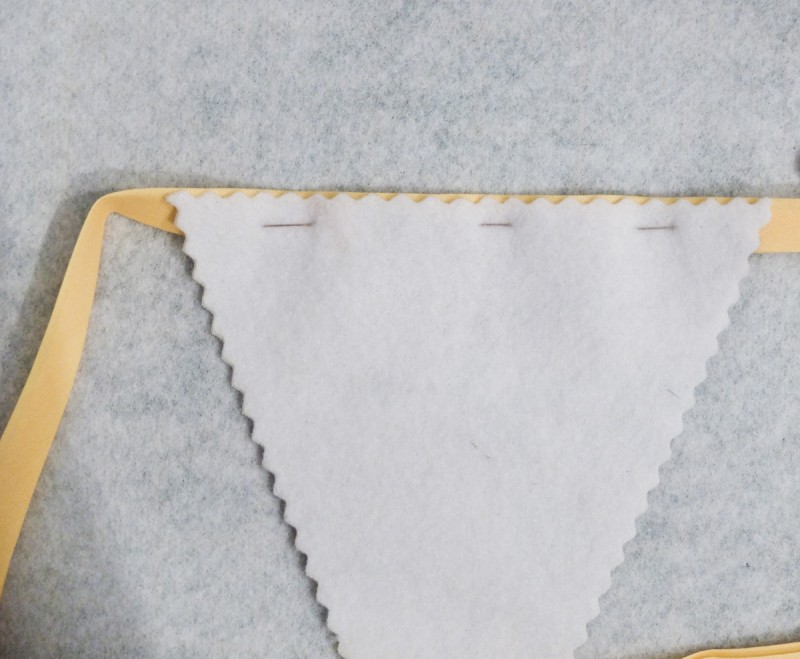
Step 5: Starting at the very beginning of your bias tape, sew 1/8 inch from the top edge. You’ll only be sewing the front of the bias tape to the back of the bias tape at first. As you continue stitching, you’ll start to sew the triangles to the bias tape as well. You need to continue the stitches past the triangles all the way to the end of the bias tape. Repeat 1/8 inch from the bottom edge of the bias tape starting at the very beginning. When you finish, you should have two rows of stitching all the way across your bias tape.
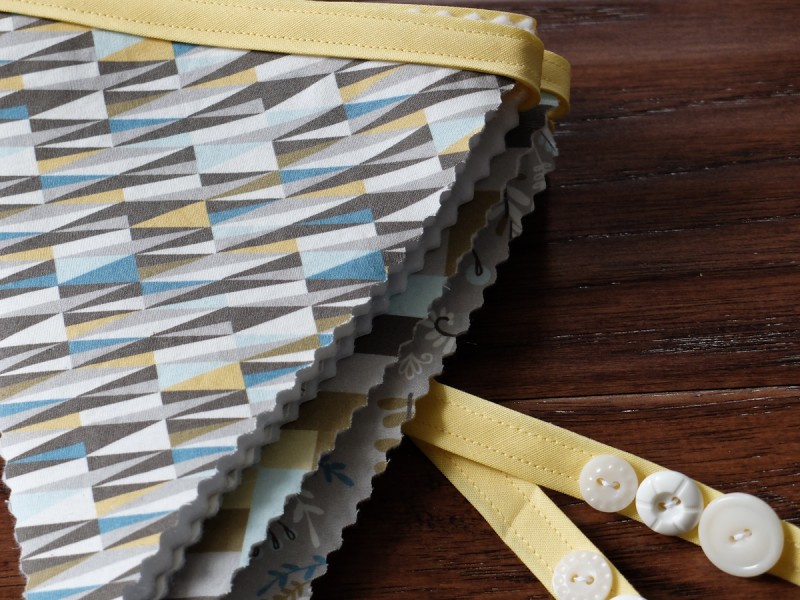
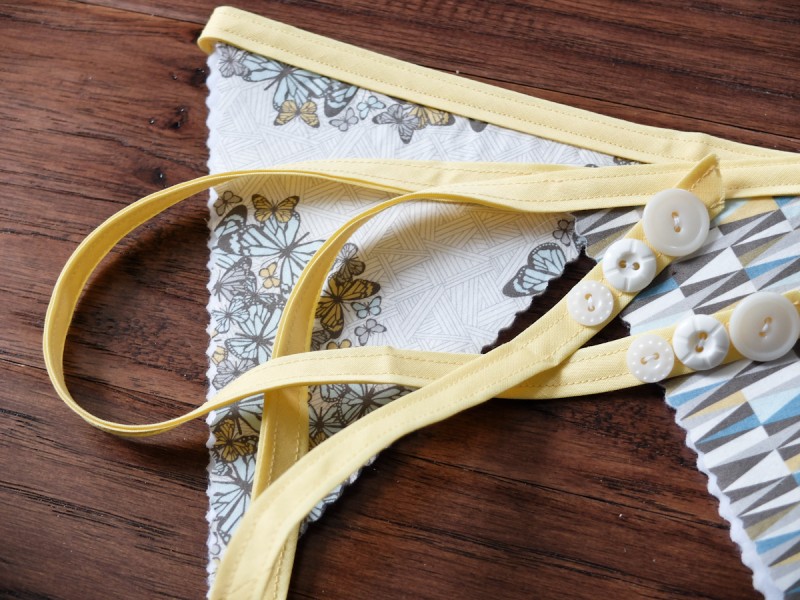
Step 6: Cut the other tail of the bunting to measure the same as the one at the beginning.
Step 7: Find six pretty buttons and sew them to each end and hang your sweet banner for all to see!
These look so springy! I love that fabric.