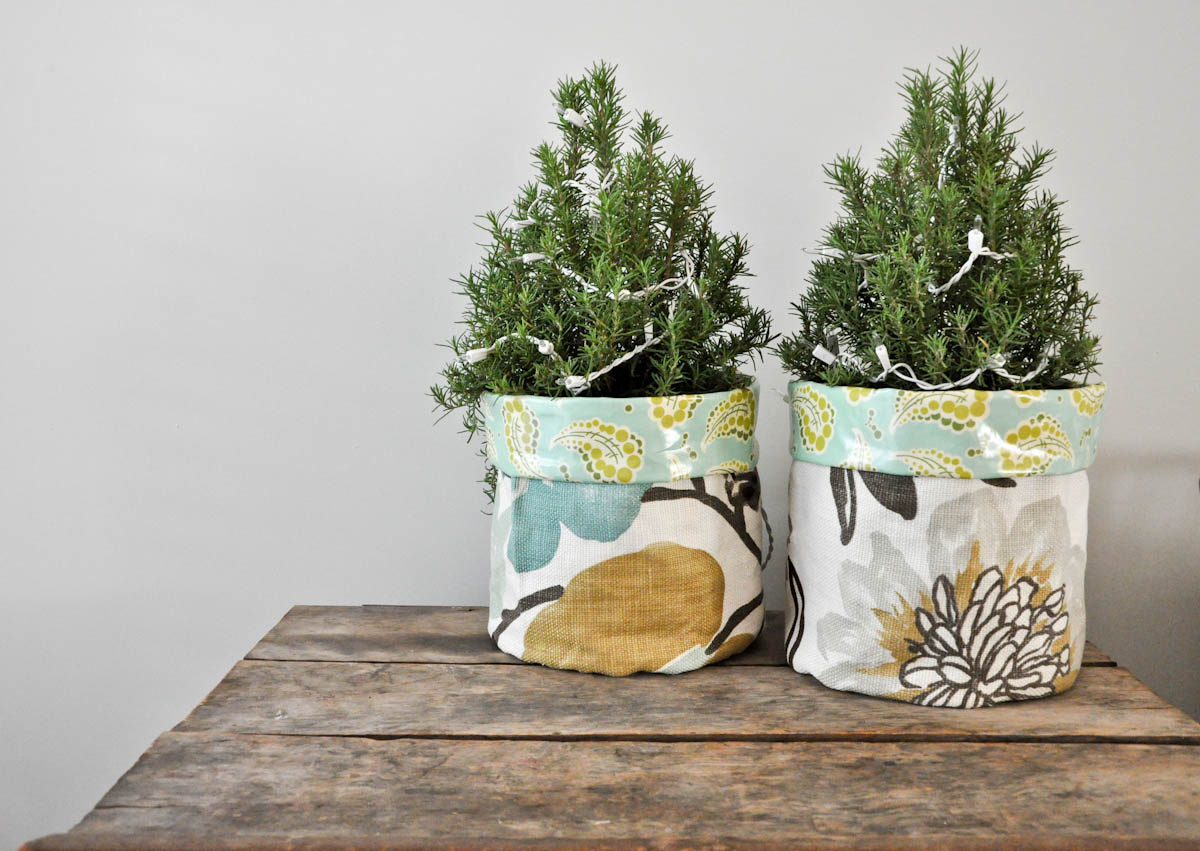
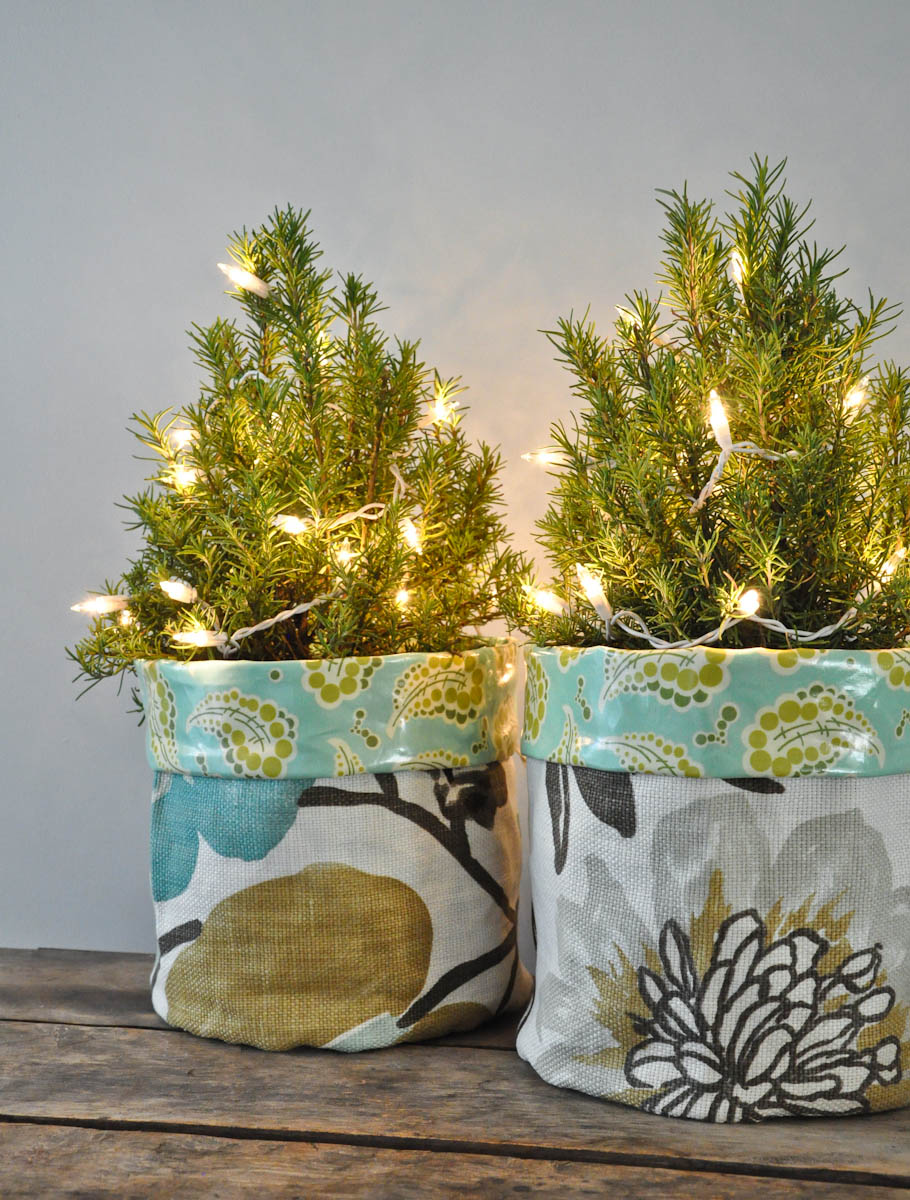
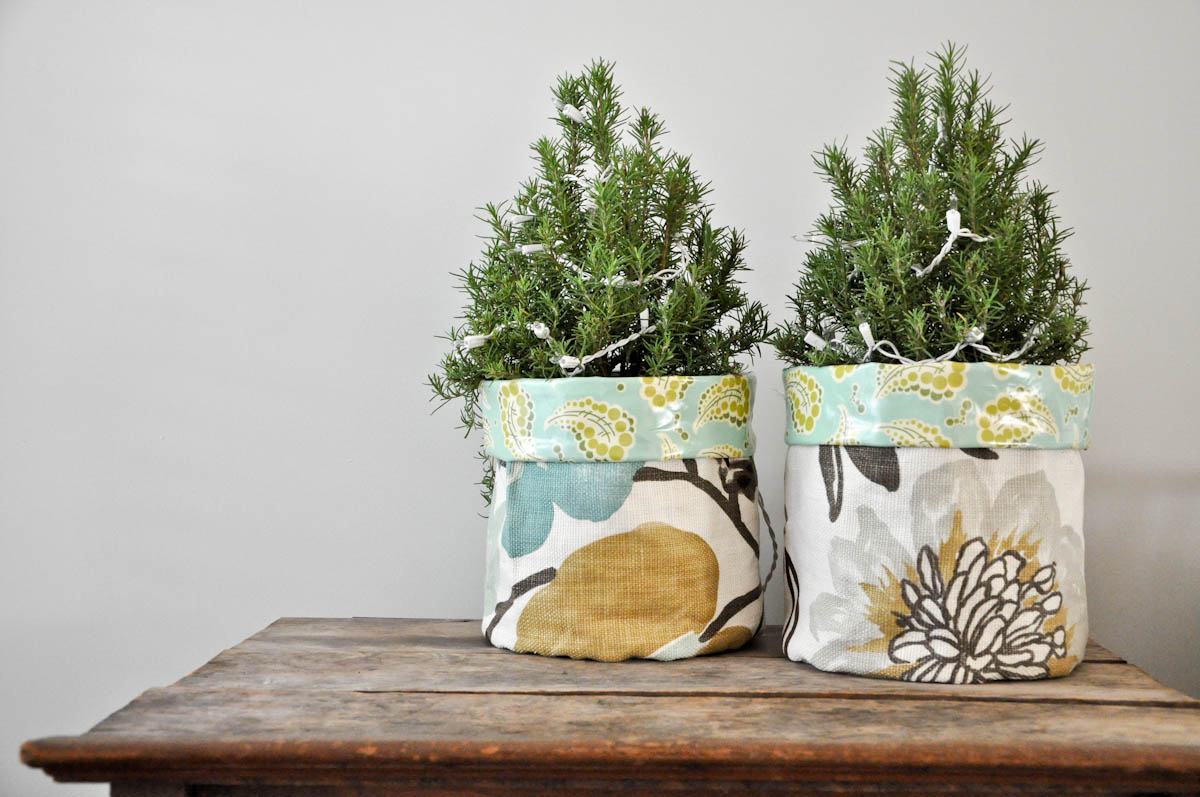
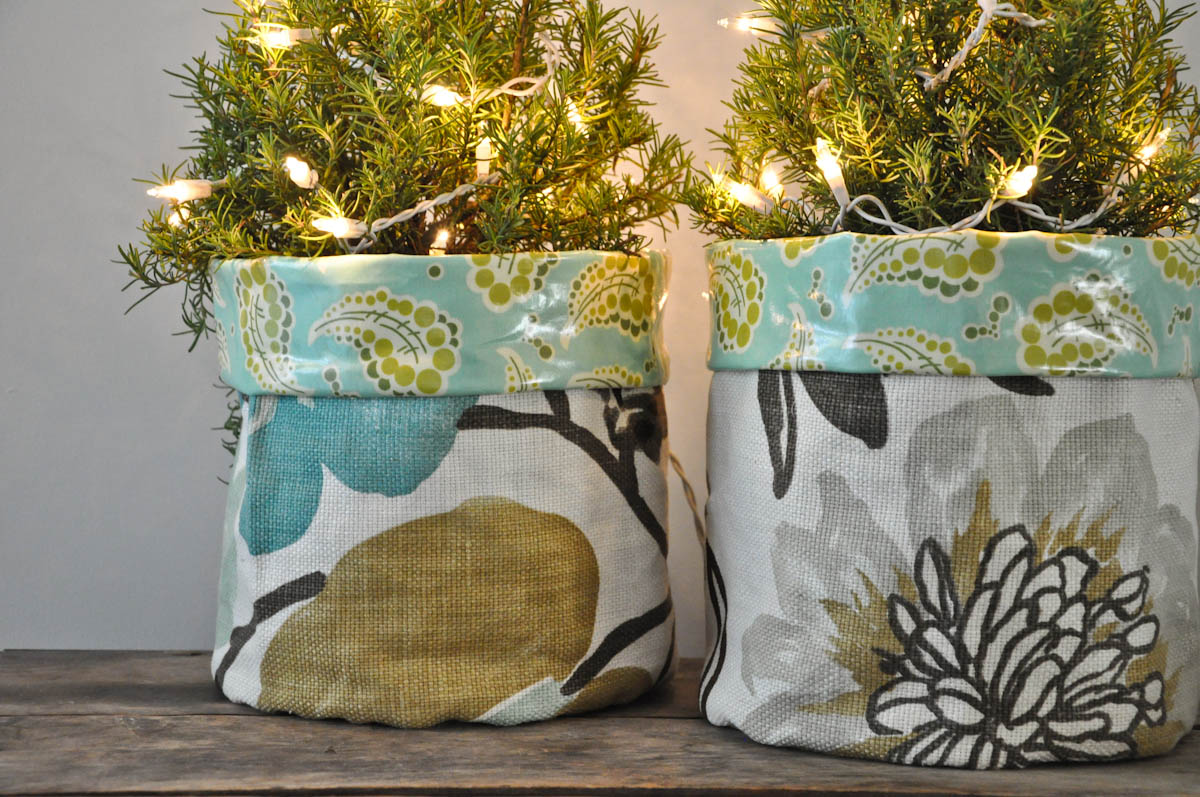
I don’t know what it is, but I love the way all the lights look this time of year! The past few years, we’ve been decorating with rosemary bushes and putting little lights on them. I mean, what a great idea whoever you are that started that! You can keep your “tree” all year long and cook with it! This year, I decided I needed to actually make some fabric covers for my plants. Usually, I just wrap some burlap around it and call it a “cover,” but this year, I wanted to make it a little more decorative. Here’s the fun part about this pattern… You can use this same pattern to make a plant cover or a fabric basket to organize around the house! You can adjust the size of the pattern to any size pot you need or make it as small as you need to store the smallest odds and ends around the house.
Want to know something interesting about this project? It can be done entirely on the serger! I used a Babylock Evolution to complete this project, and it’s just so impressive! My favorite part is pushing the ExtraordinAir button and watching the thread shoot out on the other side of the machine. I’m amazed every time!
I used home dec weight fabric for the outside of the covers and oilcloth fabric for the lining. Since both fabrics are heavy duty, make sure you use a larger needle than you would for regular quilting weight fabrics. I also noticed it was also helpful to use a longer stitch length than normal. Here’s a quick and easy tutorial for you to make a few too!
Instructions:
Step 1: Cut your canvas fabric and your oilcloth fabric into a rectangle that measures 30.5 inches long by 12.5 inches wide.
Step 2: Cut the bottom of the outside of your cover and the lining. You will need 2 circles that measure 9.5 inches in diameter.
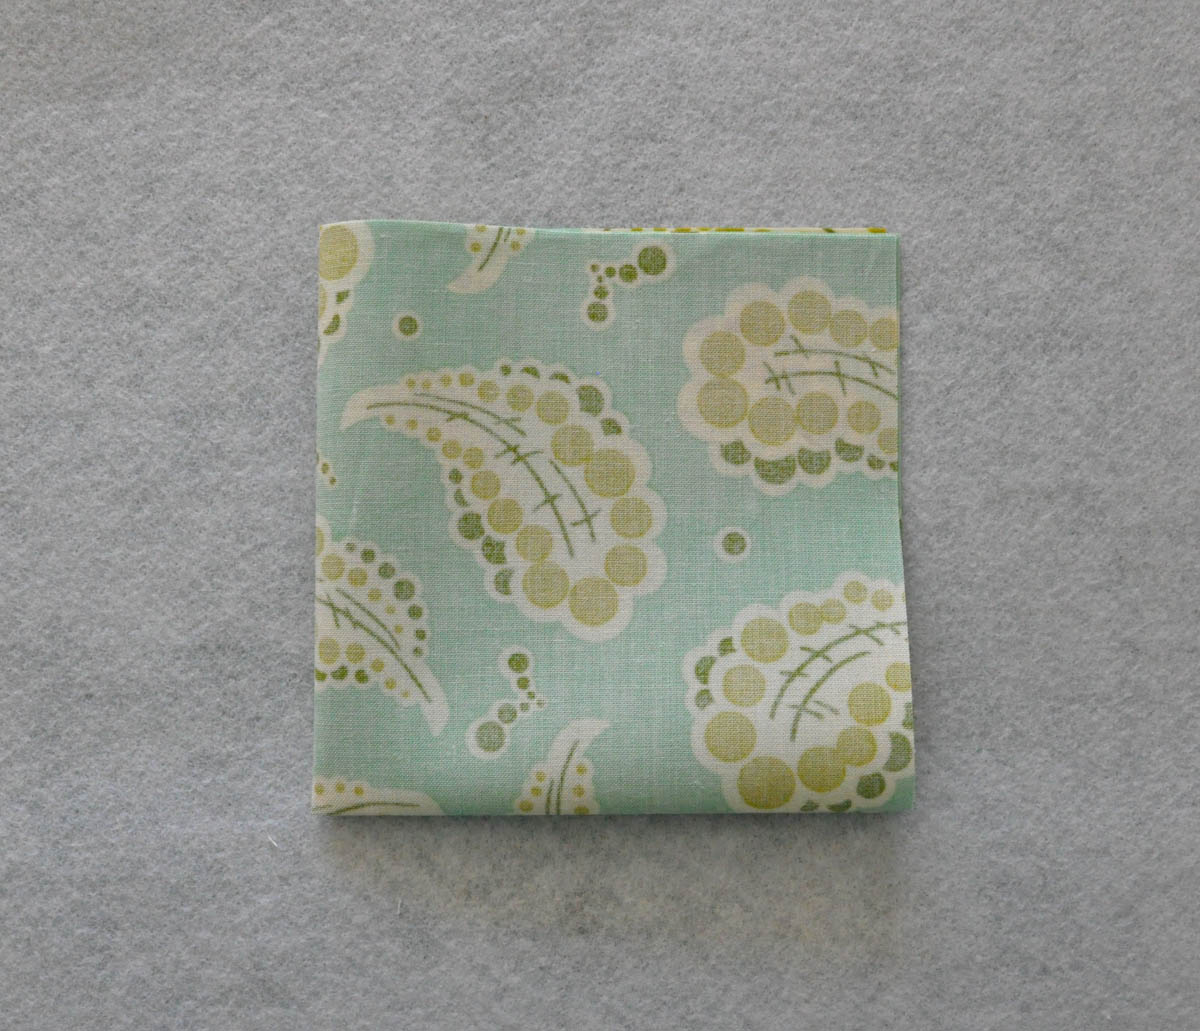
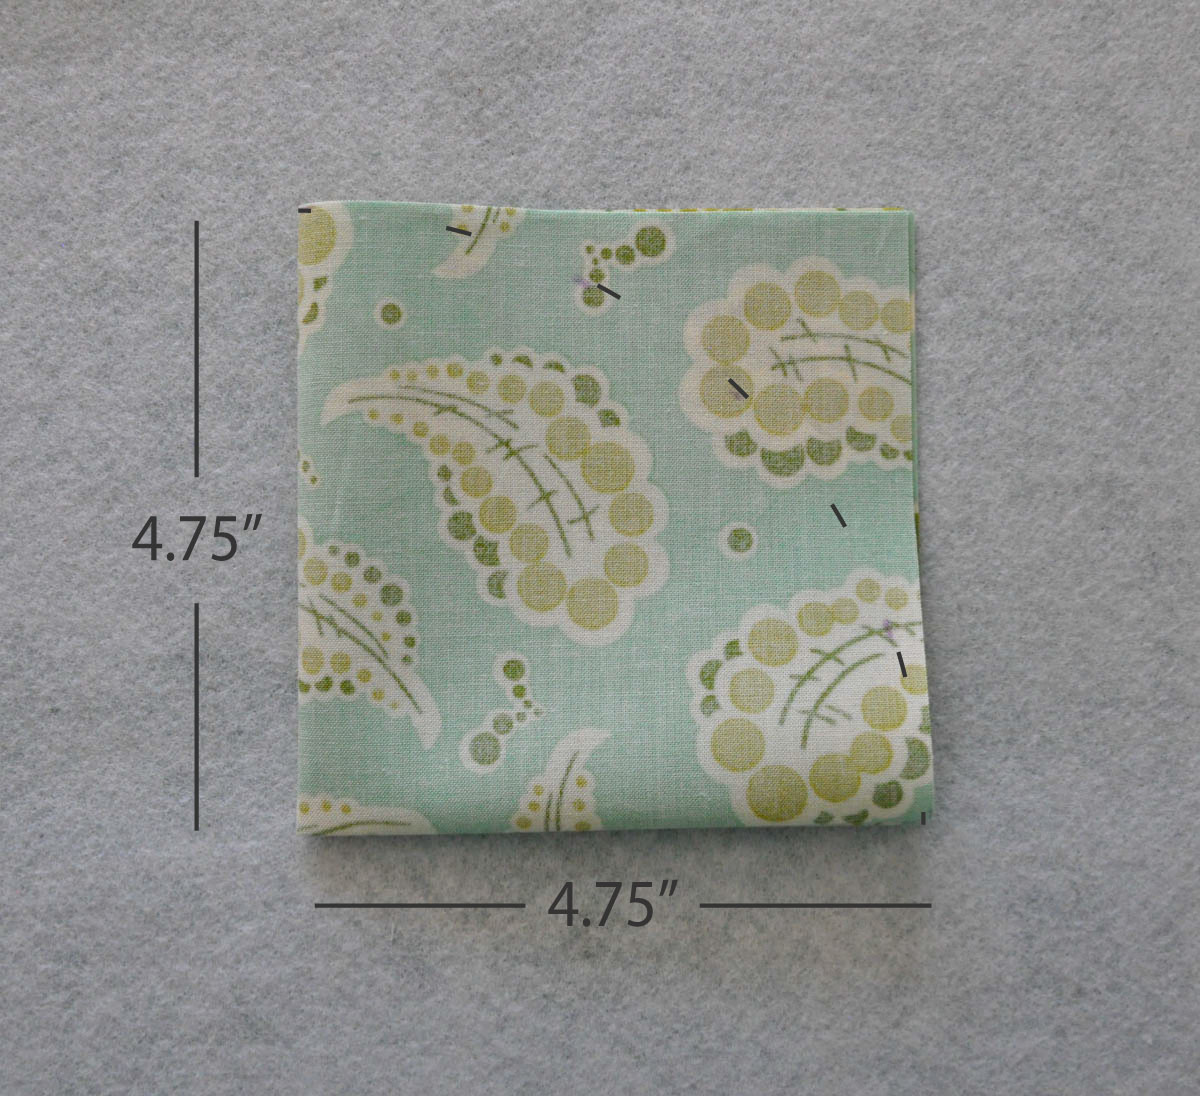
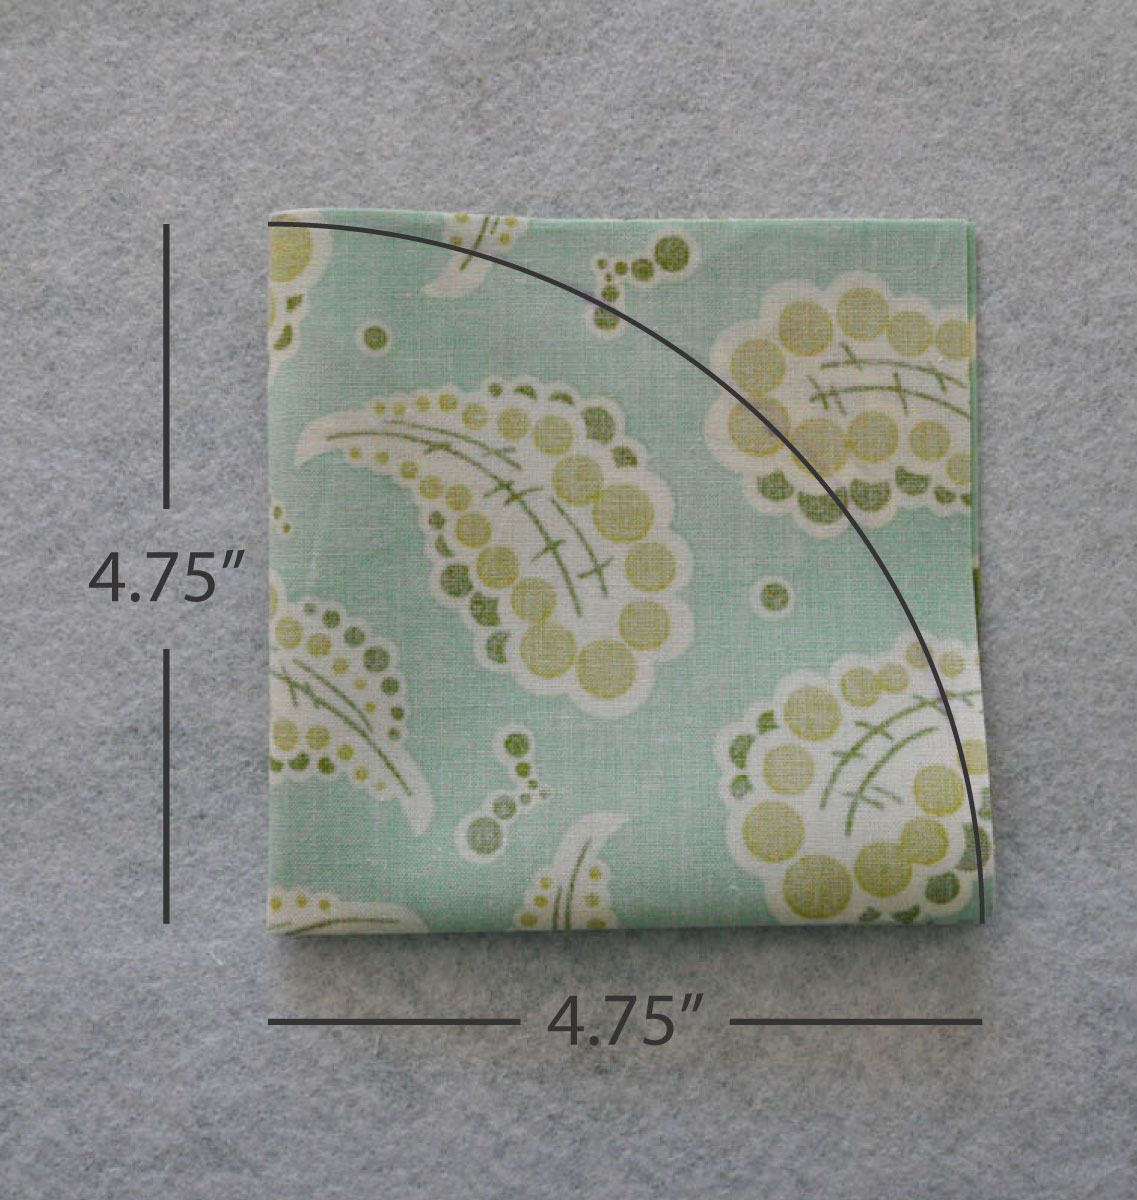
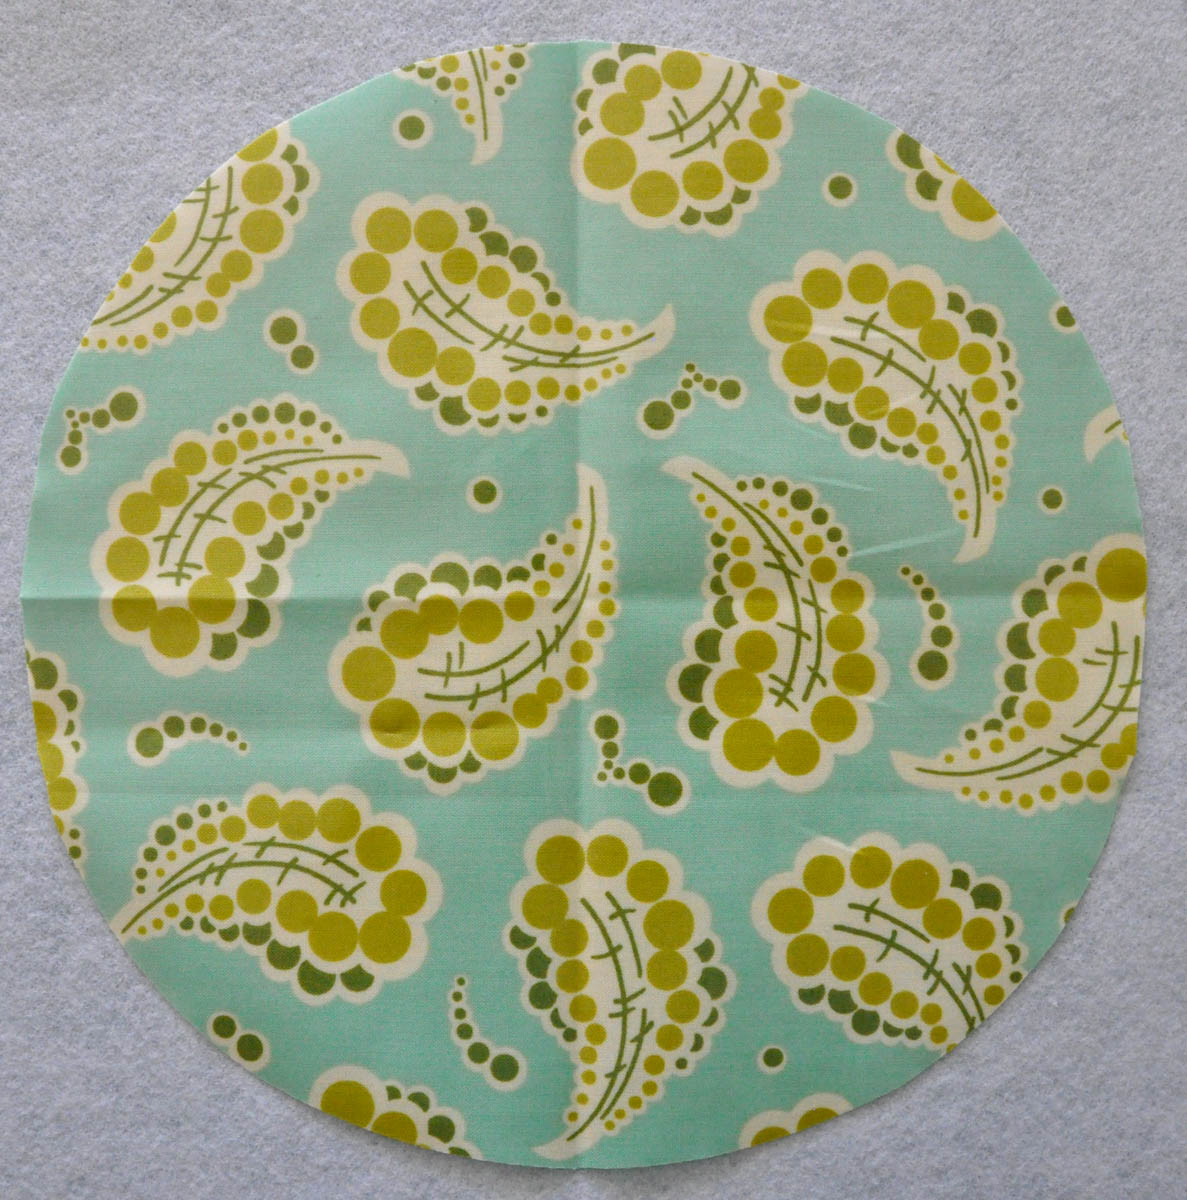
To cut out your circles: Start with a 9.5 inch square and fold it into fourths. From the center point of your square, measure out 4.75 inches at several different places on your square with a water soluble marker. Connect the points to form a fourth of your circle and cut along that line. When you open your fabric back up, you should have a circle that measures 9.5 inches in diameter.
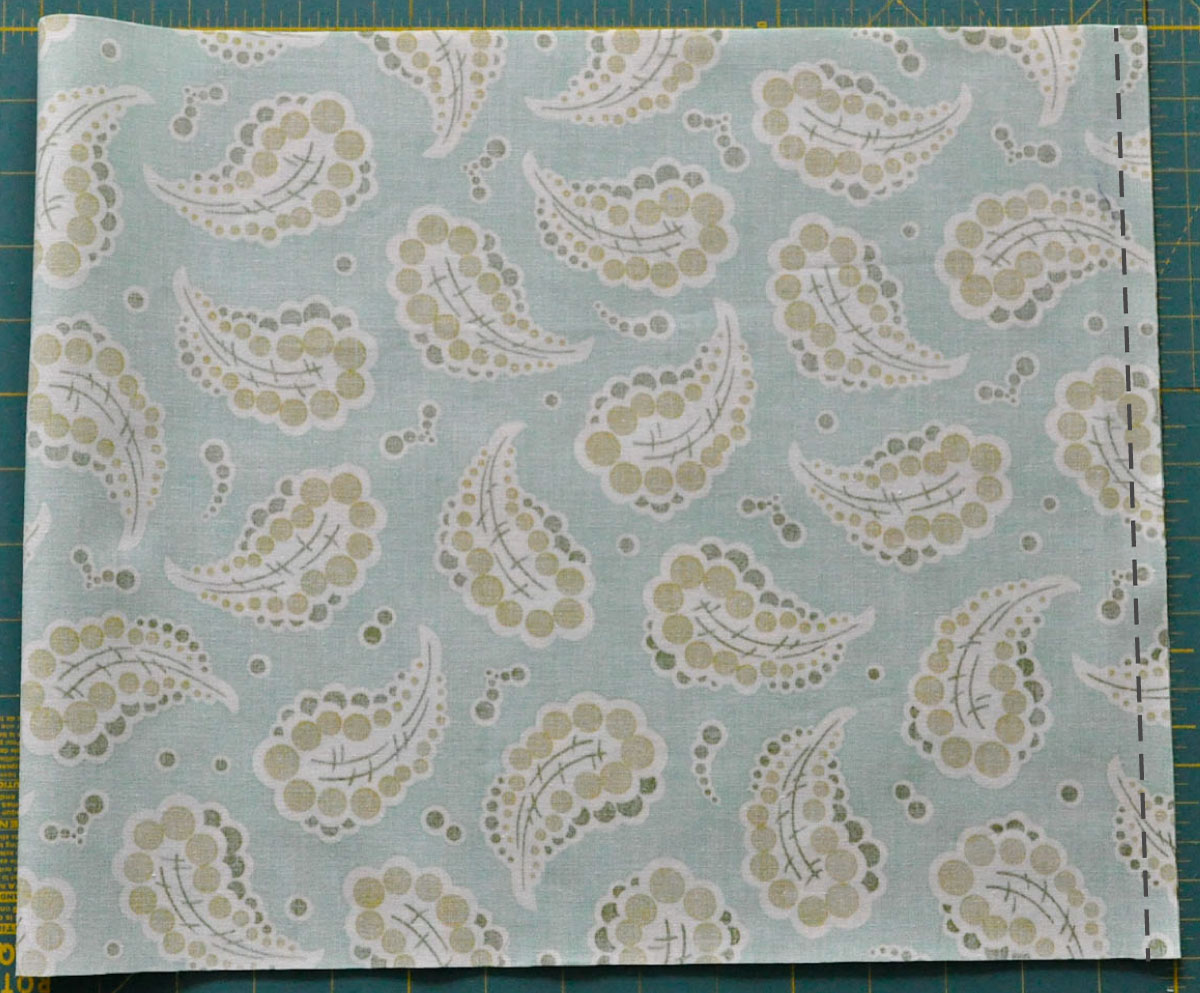
Step 3: Fold your oilcloth rectangle in half with right sides together so the short ends meet. Using the cover stitch on your serger, sew the short ends together with a 1/2 seam allowance. (Isn’t nice to sew and and serge at the same time!) You should have a cylinder that is open on both ends.
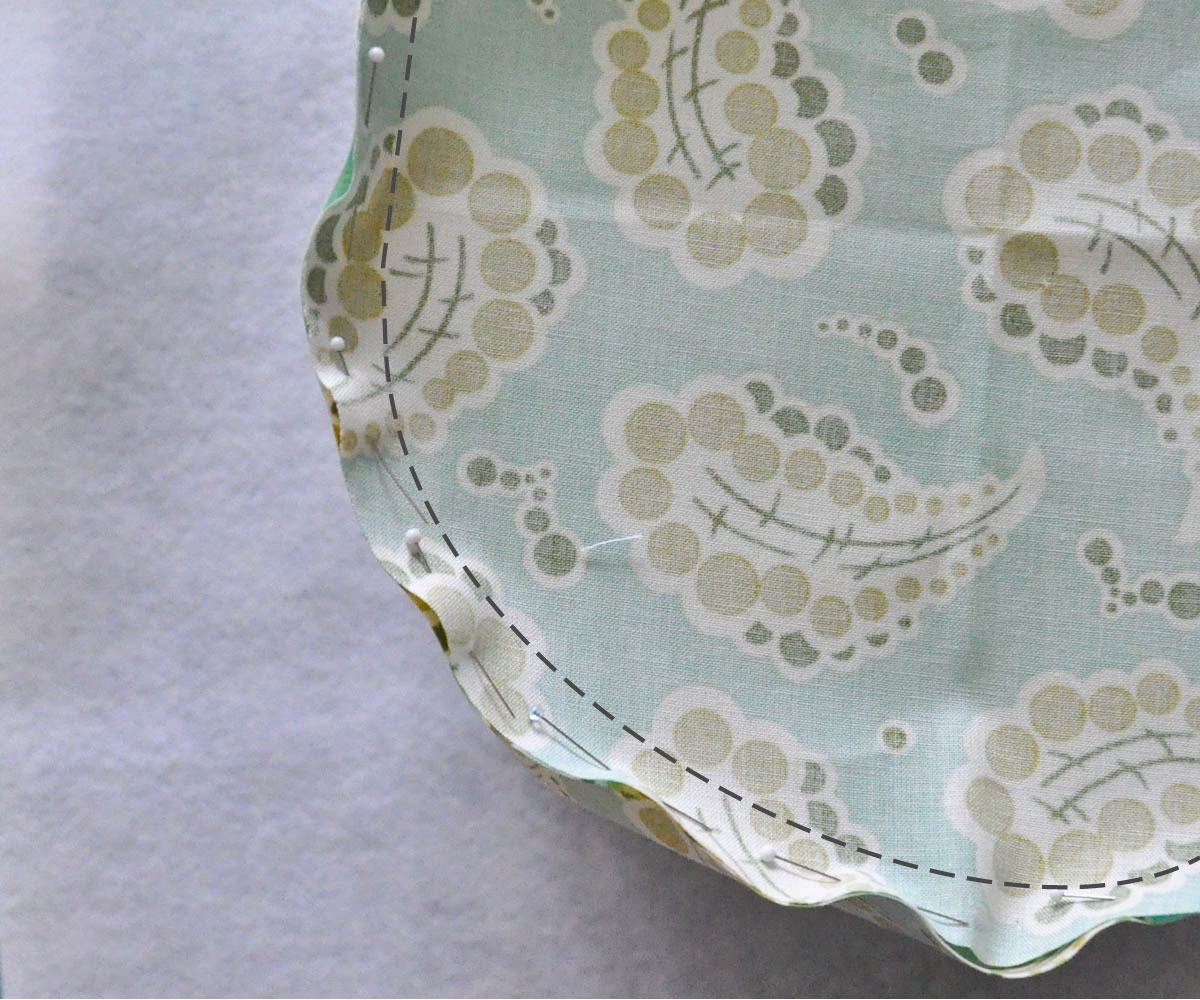
Step 4: Pin the circle you cut out for the bottom on one end of your cylinder with right sides together. Sew them together with a 1/2 inch seam allowance.
Step 5: Repeat steps 3 and 4 with your canvas fabric.
Step 6: You should now have two layers: the outside canvas layer and the oilcloth lining layer. Place the outside canvas layer into the lining layer with right sides together. Pin the two layers together around the top edge.
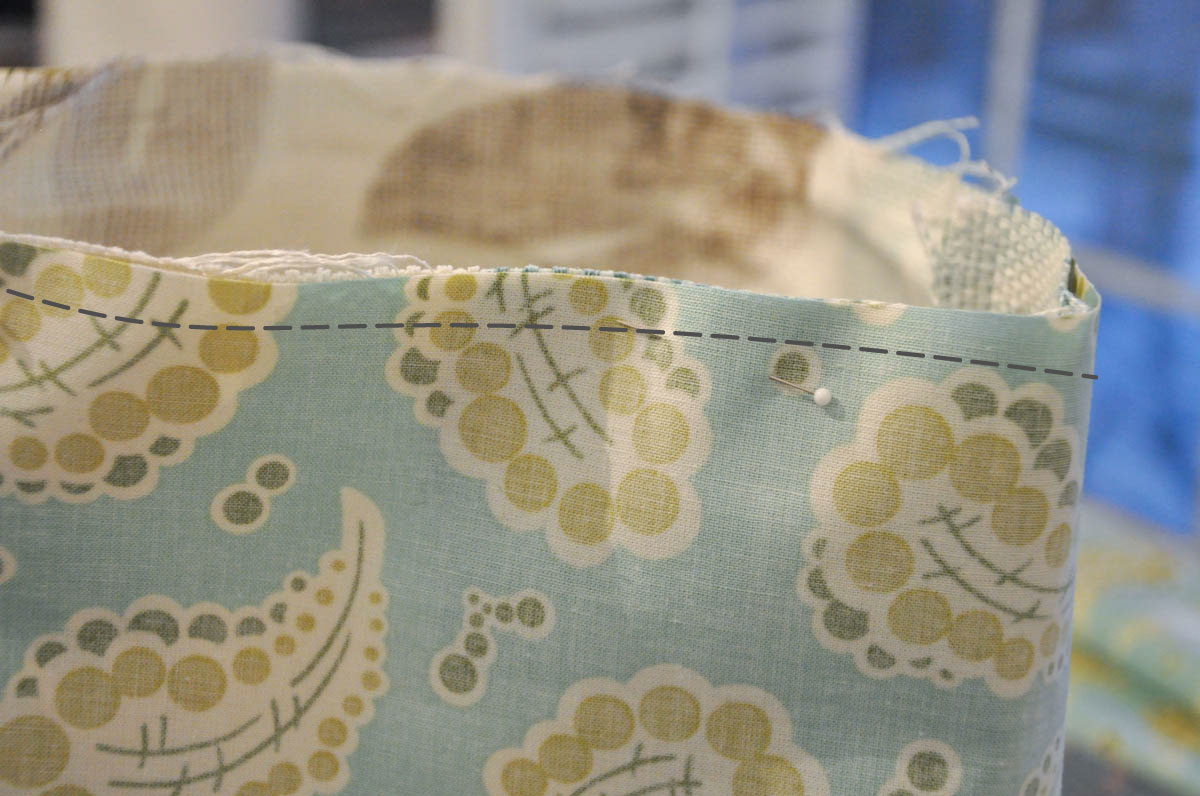
Step 7: Sew the two layers together, but make sure to leave at least a 4 inch opening. You will need that opening to turn the cover inside out.
Step 8: Turn the cover inside out and press around the top edge of your cover. You will want to pull your lining fabric slightly higher than your outside layer for when you turn it down at the end. Important note: Do not place the iron directly on the oilcloth! It will melt! Make sure to use a scrap piece of fabric between the iron and the oilcloth. Ask me how I know!
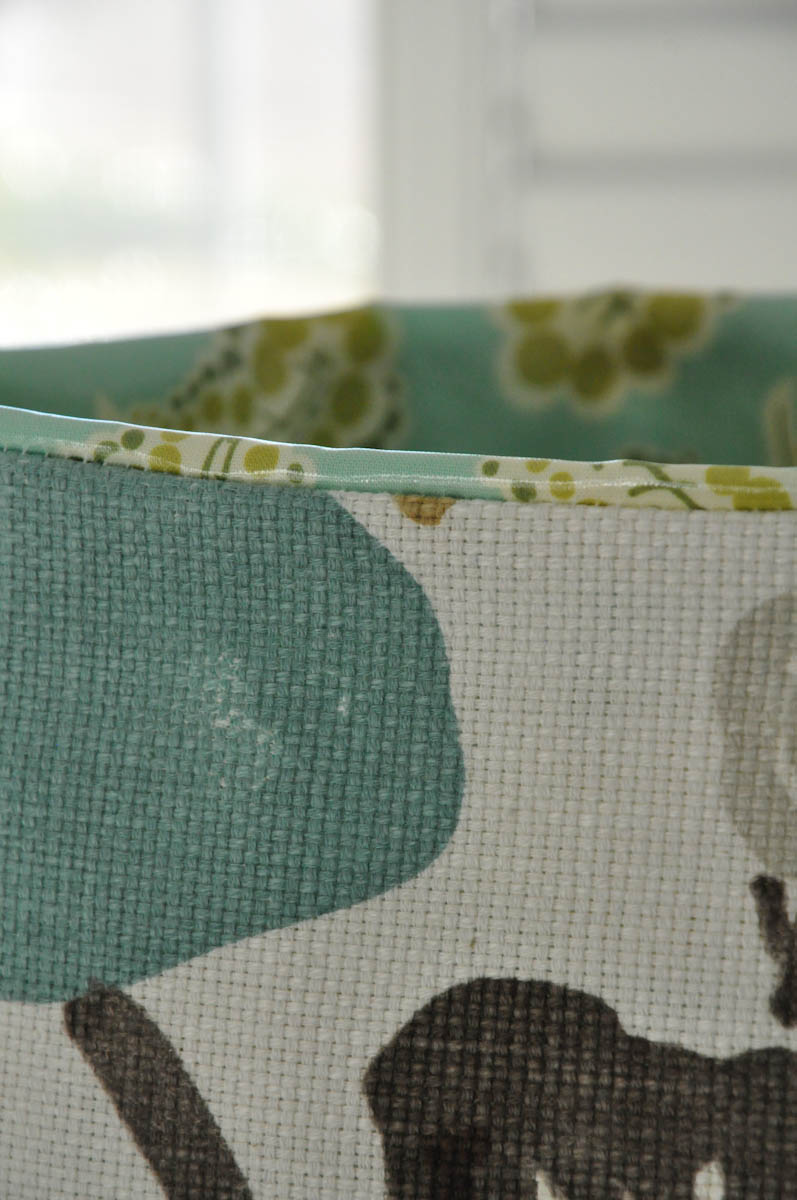
Step 9: Sew your 4 inch opening closed by hand. Turn the top edge of your cover down about 2 or 3 inches and put your plant in it!

 Note: This is not a sponsored post. All opinions are my own.
I want to make this! Lydia Maria, you inspire ME! :-)))